
You find a water leak. Maybe it’s a burst pipe under the sink, a slow roof drip that finally soaked through, or a washing machine hose that let go overnight. The water is gone, but the real problem is just getting started. To prevent mold after a water leak, you need to act within the first 24 to 48 hours. Mold spores begin germinating within that window, and visible colonies can form on porous materials in as little as 48 to 72 hours. This guide gives you the exact steps to stop that from happening.
Table of Contents
- Key takeaways
- How to prevent mold after a water leak: the right tools first
- Drying out water damage step by step
- Cleaning and disinfecting surfaces safely
- Monitoring moisture to confirm long-term success
- Common mistakes that lead to mold growth
- My honest take after seeing hundreds of these situations
- When professional help is the right call
- FAQ
Key takeaways
| Point | Details |
|---|---|
| Time is your biggest enemy | Mold can start growing within 24 hours, so drying must begin immediately after a leak. |
| Right equipment matters | Residential fans alone cannot dry moderate water damage. You need a commercial-grade dehumidifier. |
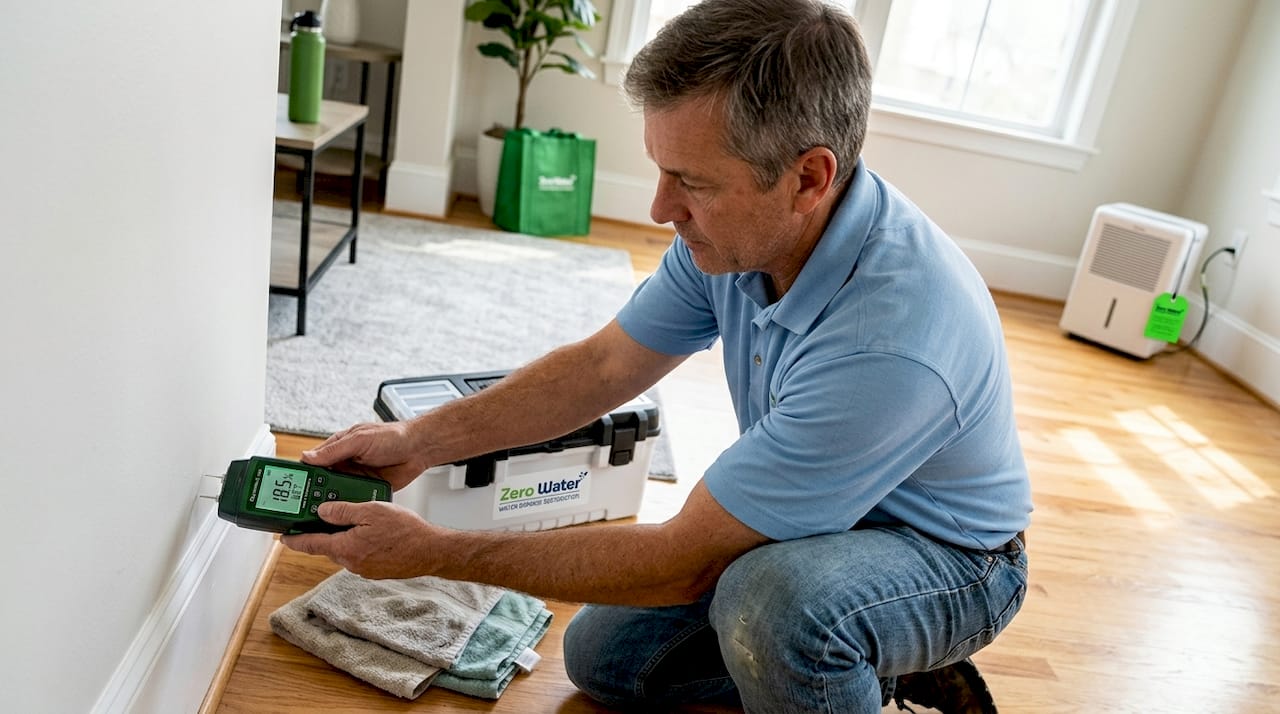
| Measure, don’t guess | Use a moisture meter on walls and floors to verify drying. Room air readings alone will mislead you. |
| Clean beyond what you see | Mold extends past visible growth, so wipe at least 2 feet beyond any discolored area. |
| Know when to call for help | Leaks over 100 square feet or involving contaminated water require professional restoration. |
How to prevent mold after a water leak: the right tools first
Before you move a single wet towel, get your equipment in order. Trying to dry out water damage without the right tools is like mopping with a sponge. You will feel busy but accomplish very little.
Here is what you need:
| Tool | Purpose |
|---|---|
| Moisture meter | Measures moisture content inside walls, floors, and wood framing |
| Hygrometer | Tracks ambient relative humidity in the room |
| Commercial dehumidifier | Pulls water vapor out of the air at a rate high enough to actually dry a room |
| Box fans or air movers | Circulate air across wet surfaces to accelerate evaporation |
| Shop vacuum (wet/dry) | Extracts standing or pooled water quickly before drying begins |
| N95 respirator | Protects lungs from mold spores and contaminants during cleanup |
| Nitrile gloves and goggles | Protects skin and eyes from mold, dirty water, and cleaning agents |
The safety gear on that list is not optional. If mold has already started forming, you are handling live spores. Proper PPE includes N95 respirators, gloves, goggles, and waterproof clothing for any cleanup beyond a minor spill.
One more step before you do anything physical: shut off the water source causing the leak and cut power to any affected areas. Water and live electricity in the same space is a life-threatening combination. If you are unsure about your panel or wiring, call an electrician before you start.
Pro Tip: Rent a commercial-grade dehumidifier rated at 100 to 200+ pints per day if you are dealing with more than minor surface moisture. Standard residential units run 30 to 70 pints per day, which is not enough for moderate water damage events.
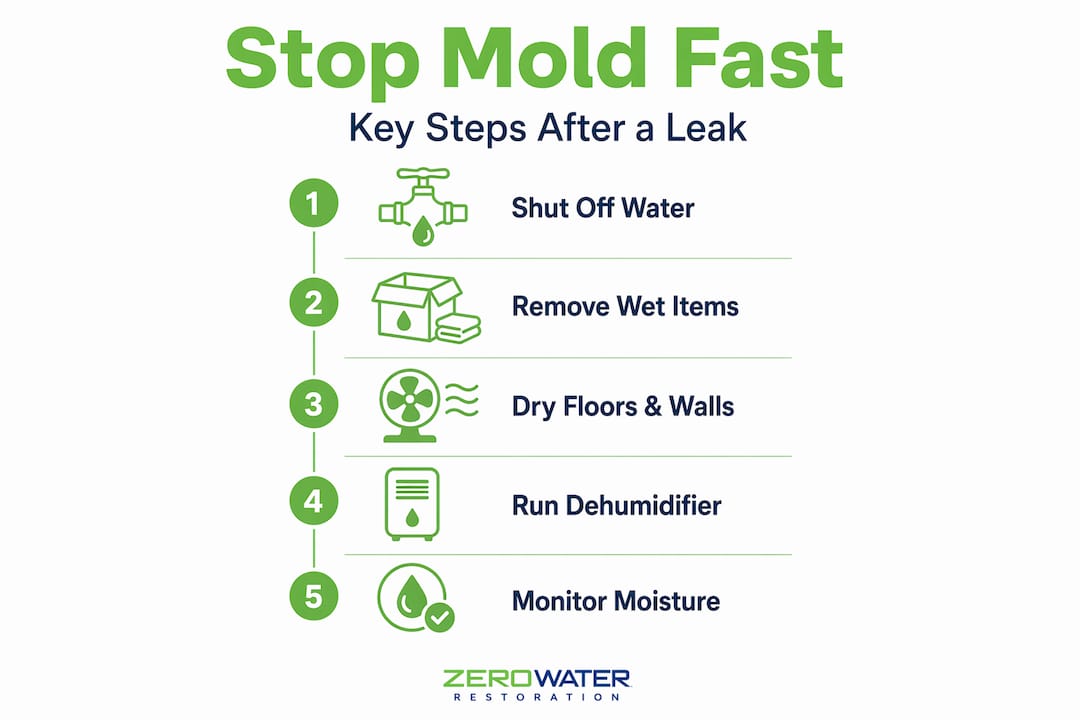
Drying out water damage step by step
This is where most homeowners lose the battle. They clean up the visible water, toss some towels down, point a box fan at the wall, and assume the job is done. Seventy-two hours later they are looking at black patches creeping up their drywall. Here is how to dry water damage the right way.
-
Stop the source. Nothing else matters if water is still entering the space. Fix the pipe, patch the roof temporarily, or shut off the main water supply.
-
Extract standing water immediately. Use a wet/dry shop vacuum to pull out as much standing water as possible before running any drying equipment. Every gallon you remove mechanically is a gallon the dehumidifier does not have to process.
-
Remove saturated materials you cannot dry within 48 hours. Soaked drywall, insulation, and carpet padding almost never dry fast enough when left in place. Materials not dried within 48 hours must be removed and discarded. Leaving them creates a guaranteed mold habitat hidden inside your walls.
-
Set up air movers and dehumidifiers together. Fans circulate air across wet surfaces. Dehumidifiers pull that moisture-laden air out of the space. You need both working at the same time. Fans without a dehumidifier just move humid air around the room without removing it.
-
Control indoor temperature. Keep the space between 70°F and 90°F during drying. Cold air holds less moisture, which slows dehumidifier performance significantly. Do not crank the AC during the drying phase.
-
Empty dehumidifier buckets or connect a drain hose. A dehumidifier that shuts off because its bucket is full stops working. Run a drain hose to a floor drain or sump pit so it operates continuously.
-
Document everything. Take photos before, during, and after. This protects you during insurance claims and gives restoration professionals a baseline if you need to call them later. You can also review our temporary repairs guide for fast stopgap measures while you wait for full restoration.
Pro Tip: Target a complete structural drying time of 3 to 5 days for moderate events. Check your moisture meter readings daily. If numbers are not dropping consistently, your equipment capacity is likely insufficient for the job.
Cleaning and disinfecting surfaces safely
Once the space is dry, or as close to dry as you can get it, cleaning and disinfection prevent any surviving spores from colonizing. This step trips people up because the instinct is to grab a bottle of bleach and go to town. That approach has real risks if you do not know what you are doing.
What to do:
- Wipe all affected surfaces with a detergent solution first to remove organic material, then follow with an antimicrobial treatment
- Use a damp cloth or HEPA vacuum. Dry brushing mold releases spores into the air and spreads contamination to unaffected areas
- Clean at least 2 feet beyond any visibly discolored or damaged area. Mold extends well past what you can see
- Bag and seal contaminated materials in heavy plastic before carrying them through the house to avoid spreading spores
- Dispose of heavily saturated porous materials like insulation, carpet, and drywall rather than trying to clean and reuse them
What not to do:
- Never mix bleach with ammonia or other cleaners. Mixing these chemicals produces toxic vapors that can cause serious respiratory harm
- Do not rely on bleach alone on porous materials. Bleach kills surface mold but does not penetrate deep enough to address mold inside drywall or wood
- Do not skip protective gear during cleaning, even if the area looks dry and clean at this stage
Pro Tip: For a deeper look at what types of mold can develop after flooding and which materials are most at risk, the types of mold after flooding resource from Zerowaterrestoration covers exactly what Chicagoland homeowners typically encounter.
Monitoring moisture to confirm long-term success
Drying out a space once is not the end of the job. Mold inspection after water intrusion is an ongoing process for at least the first week. The most dangerous situation is believing the space is dry when it is not.
Here is what good monitoring looks like:
| Target | Measurement | Goal |
|---|---|---|
| Ambient relative humidity | Hygrometer reading in room | 30% to 50% RH; above 60% accelerates mold |
| Wood framing moisture content | Moisture meter on wood | Below 15% |
| Concrete or masonry | Moisture meter on surface | Below 1% |
| Drywall | Moisture meter on paper face | At or near ambient levels |
One critical distinction most homeowners miss: surface RH on cold walls can reach 80% even when your room’s hygrometer reads 50%. That cold exterior wall is creating condensation conditions invisible to ambient measurements. Always use a moisture meter directly on the material, not just the hygrometer hanging in the middle of the room.
Check readings every 24 hours for the first 5 days. If moisture content in wood framing is not dropping, or if you smell a musty odor that was not there before, those are signs that mold is developing somewhere you cannot see. That is the point where a professional mold inspection after water intrusion becomes worth every dollar.
Common mistakes that lead to mold growth
Even homeowners who act quickly make errors that undo their early efforts. Here is where post-flood mold control breaks down most often.
- Waiting more than 48 hours to start drying. Every hour past that window raises the likelihood of mold colonization sharply. If you cannot start drying yourself immediately, call a restoration company that day.
- Running a test instead of drying. Professional mold testing is often unnecessary and can delay the critical action: removing moisture. The response to mold is the same no matter what species the test identifies. Stop the moisture, remove the material.
- Using undersized equipment. A single box fan and a consumer dehumidifier will not dry out a flooded basement. Capacity matters enormously.
- Ignoring adjacent rooms. Water migrates. It travels under flooring, through wall cavities, and across concrete slabs to rooms you would never suspect. Check moisture readings in every room sharing a wall or floor with the affected area.
“When water damage affects more than 100 square feet, or when the water source was contaminated (sewage backup, floodwater), DIY drying is not enough. Contaminated water changes the health risk entirely and requires professional equipment and protocols.”
If you notice musty smells, visible staining, or peeling paint appearing after you believed the area was dry, do not wait. Those are signs of active mold growth that needs professional remediation, not another round of DIY cleaning. Reviewing water damage protection advice can help you understand when that line has been crossed.
My honest take after seeing hundreds of these situations
I have walked into a lot of homes where someone spent three days trying to manage water damage on their own before calling us. In almost every case, the delay cost them more money than the original damage would have. They had good intentions and the right instincts. What they lacked was equipment capacity and the ability to measure what was happening inside the walls.
Here is the thing about home moisture management that most guides skip: the visible surface is always the last place moisture exists and the first place people check. The drywall paper looks dry. The floor feels dry underfoot. But the wood framing behind that drywall is sitting at 25% moisture content, and mold is already colonizing the cavity. You cannot see it, you cannot smell it yet, and you have no idea it is happening until you pull the wall open two weeks later.
My advice is to rent or borrow a decent moisture meter before you do anything else. Not a cheap pin-type meter from a hardware store, but a good quality one. Use it on every surface that was anywhere near the water. If you see readings above 15% in wood or above 1% in concrete, your drying job is not done, no matter what the room feels like.
The DIY line for me is clean water, under 100 square feet, and you have the right equipment on hand the same day. Anything bigger, anything involving sewage or floodwater, or any situation where you cannot verify drying progress with a moisture meter: call a professional. Not because you cannot handle it emotionally, but because the equipment and protocols genuinely make the difference between a dry house and a mold remediation project.
— Jim
When professional help is the right call
Sometimes the scope of water damage goes beyond what a weekend and a rented dehumidifier can handle. If you are dealing with a large affected area, contaminated water, or moisture readings that refuse to drop after several days of drying, professional restoration services are not a luxury. They are the faster, safer path to a dry and mold-free home.
Zerowaterrestoration provides full-service water damage restoration and mold remediation services for homeowners throughout the Chicagoland northwest suburbs. The team responds 24 hours a day, brings commercial-grade drying and monitoring equipment, handles documentation for insurance claims, and does not walk away until moisture readings confirm the job is complete. Call (847) 515-7000 or visit zerowaterrestoration.com for a free inspection and estimate.
FAQ
How fast does mold grow after a water leak?
Mold spores begin germinating within 24 to 48 hours of water exposure, and visible colonies can appear on porous materials in as little as 48 to 72 hours. Starting the drying process the same day as the leak is the single most effective prevention step.
What humidity level prevents mold from growing indoors?
Keep indoor relative humidity between 30% and 50%. Levels above 60% significantly speed up mold development, so a dehumidifier running continuously after a leak is not optional if you want to prevent mold colonization.
Can I use bleach to clean mold after a water leak?
Bleach can kill surface mold on non-porous materials, but it does not penetrate porous surfaces like drywall or wood. Never mix bleach with ammonia or other cleaning agents, as this produces toxic fumes. Use a damp cloth or HEPA vacuum rather than dry brushing to avoid spreading spores.
Do I need a mold inspection after water intrusion?
Mold inspection after water intrusion matters most when you detect musty odors, see discoloration, or cannot verify drying with a moisture meter. Professional testing is rarely necessary before cleanup. Removing moisture and contaminated materials is the priority regardless of the mold species present.
When should I call a professional instead of handling it myself?
Call a professional if the affected area exceeds 100 square feet, the water source was contaminated (sewage, floodwater), or your moisture readings are not dropping after 48 to 72 hours of continuous drying. Larger events require commercial-grade equipment and protocols that go beyond what most homeowners have access to.