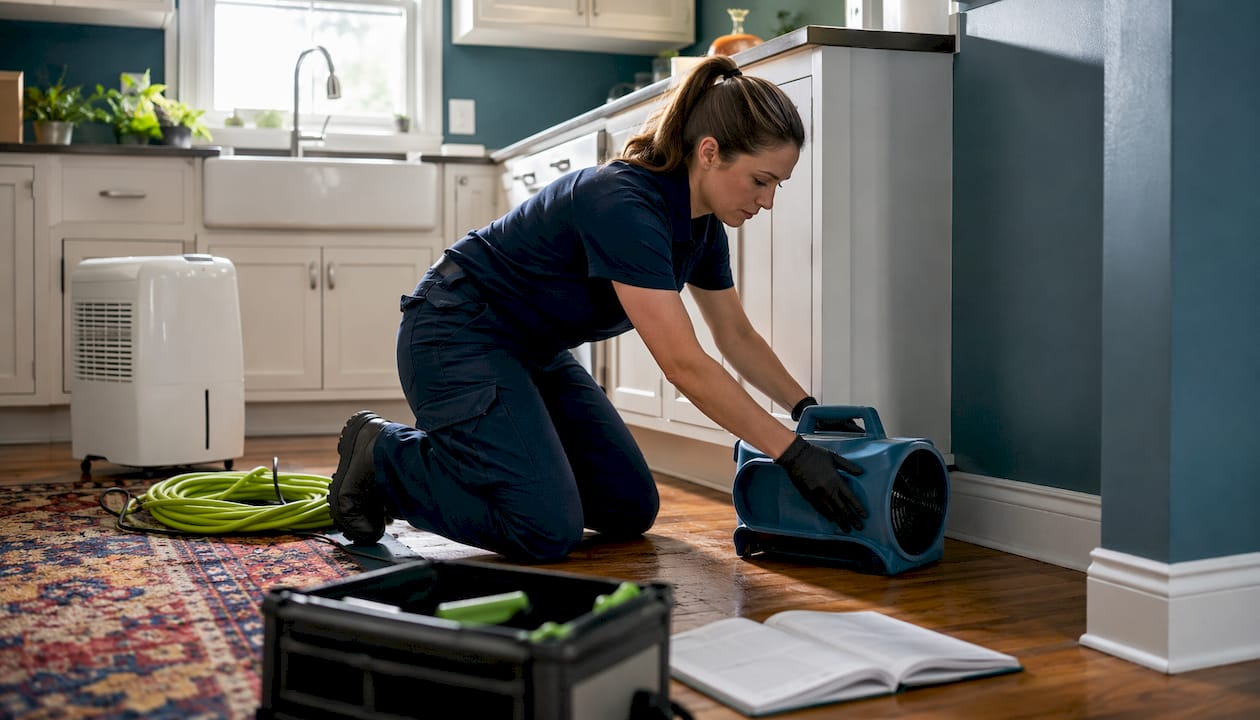
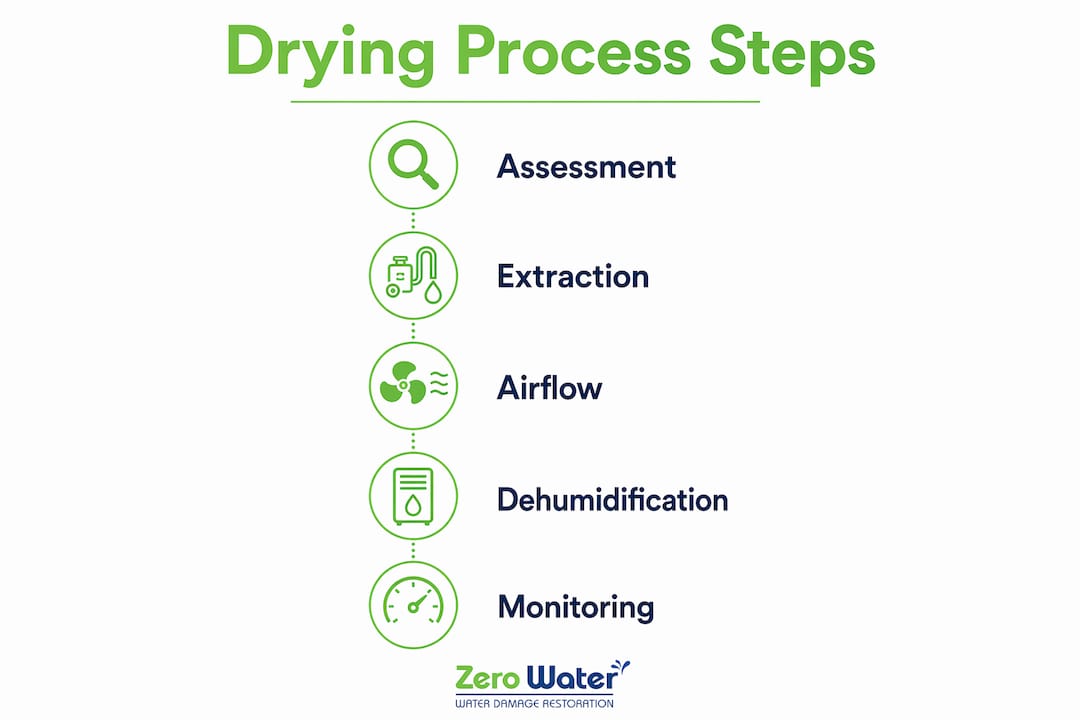
Speeding up water damage drying time comes down to four things done in the right order: extract standing water immediately, push controlled airflow across wet surfaces, pull moisture out of the air with a dehumidifier, and monitor readings daily to keep the drying environment dialed in. Physical extraction alone is vastly more efficient than relying on evaporation, so every minute you spend on extraction pays off more than any fan you could run afterward. Here is what that looks like in practice:
- Extract first. Remove all standing water before any drying equipment goes on. Wet carpet padding and saturated subfloor dramatically extend total drying time if left in place.
- Run air movers strategically. Position them at a low angle along walls in a circular pattern, not pointed directly at surfaces or at each other.
- Deploy a dehumidifier. Without one, the air saturates and evaporation stalls completely. A professional LGR unit outperforms any household model.
- Control temperature. A room held between 70°F and 90°F keeps refrigerant dehumidifiers running at peak efficiency.
- Monitor daily. Check moisture content, relative humidity, and temperature every 24 hours and adjust equipment accordingly.
- Keep windows closed in humid climates. Opening windows in high-dew-point conditions introduces outdoor moisture and raises indoor humidity, which slows drying instead of helping it.
Table of Contents
- How the science of drying actually works
- Equipment and techniques that accelerate water damage drying
- Drying in place versus demolition: how to decide
- Typical drying timelines and how to track progress
- Why professional restoration produces faster, safer results
- Zerowaterrestoration gets your property dry faster than DIY alone
- Key Takeaways
How the science of drying actually works
The professional term for this is psychrometrics: the study of moist air and how it interacts with building materials. Understanding it even at a basic level changes how you approach every decision during a water damage event.
The driving force behind all drying is vapor pressure differential. Wet materials hold moisture at a higher vapor pressure than the surrounding air. When that gap is large, moisture migrates out of the material and into the air rapidly. When the gap closes — because the air is already saturated — drying stops. Every technique professionals use is designed to keep that gap as wide as possible for as long as possible.
Psychrometrics governs effective drying by linking three variables: temperature, humidity, and airflow. Raise the temperature and the air can hold more moisture, which widens the vapor pressure gap. Lower the relative humidity and the same thing happens. Move air across a wet surface and you replace the thin, saturated boundary layer of air with drier air, keeping evaporation moving. All three levers work together.
Relative humidity above 60% significantly slows drying and raises mold risk. Professional restoration targets a relative humidity between 40% and 50% throughout the drying period. This is the optimal range where vapor pressure differentials stay strong enough to pull moisture out of materials like drywall, wood framing, and insulation at a meaningful rate.
Equipment and techniques that accelerate water damage drying
Getting the right tools in the right configuration matters more than simply having a lot of equipment running.
Air movers come in two main types: axial (high-volume, lower pressure) and centrifugal (lower volume, higher static pressure). Centrifugal units push air into wall cavities and under flooring more effectively. Axial units cover large open floor areas faster. Placement follows what professionals call the vortex method: air movers positioned in a circular pattern around the room prevent stagnant moisture pockets that straight-line fan arrangements create.
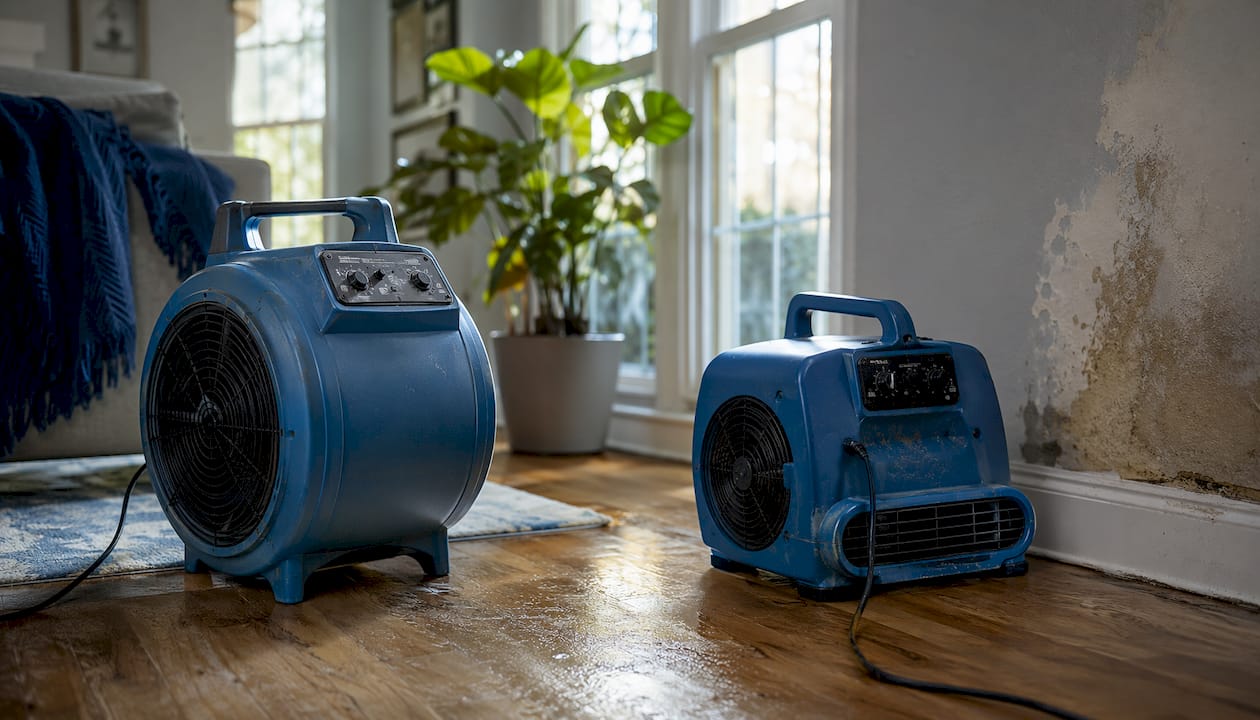
Airflow velocity also needs to change as drying progresses. Around 600 feet per minute (FPM) is optimal during the early constant-rate drying phase, when surface moisture is the main target. As drying moves into the falling-rate phase and deeper moisture becomes the focus, dropping to roughly 150 FPM with added heat extracts that bound moisture more effectively.
Dehumidifiers fall into three categories worth knowing:
- Refrigerant units work well in the 70°F to 90°F range and are the standard for most residential water damage jobs.
- LGR (low-grain refrigerant) units pull moisture at lower humidity levels than standard refrigerant models, making them more effective as conditions dry out.
- Desiccant units perform in cold environments where refrigerant units lose efficiency, useful in unheated spaces during winter months.
Pro Tip: Angle air movers at roughly 5 degrees against the baseboard rather than blasting directly at a wall. Grazing airflow drives more evaporation from the surface than direct impingement does.
Common homeowner mistakes include running fans without any dehumidification (the air saturates and drying stalls), using too few air movers for the square footage, and blocking the dehumidifier’s intake or exhaust with furniture. You can also check water extraction equipment types to understand what professional-grade tools actually do versus household alternatives.
Drying in place versus demolition: how to decide
Not every wet wall needs to come down. Getting this call right saves money and avoids unnecessary disruption, but getting it wrong leads to hidden mold and structural rot months later.
-
Assess the water category first. Category 1 (clean water from a supply line) allows drying in place for most materials. Category 2 (gray water) and Category 3 (black water or sewage) typically require removal of porous materials regardless of moisture levels, because contamination cannot be dried out.
-
Check material porosity and moisture depth. Drywall and fiberglass insulation can often be dried in place if moisture has not wicked deeply into the assembly. Dense-pack insulation, cellulose, and materials with vapor barriers trap moisture and rarely dry effectively without removal.
-
Act within 48–72 hours. Drying in place is most successful when moisture is caught early and proper drying conditions are established quickly. Beyond that window, mold colonization becomes likely and the case for demolition strengthens considerably.
-
Weigh cost against risk honestly. Drying in place costs less upfront, but incomplete drying that leads to mold remediation later costs far more. If moisture readings in the wall cavity are not dropping consistently after 48 hours of active drying, removal is the right call.
-
Follow IICRC S500 guidance. The ANSI/IICRC S500 Standard for Professional Water Damage Restoration provides the industry framework for these decisions. Certified restorers use it to document why materials were dried in place or removed, which matters for insurance claims.
Typical drying timelines and how to track progress
| Damage Class | Description | Typical Drying Time |
|---|---|---|
| Class 1 | Minimal absorption, small area | 1–3 days |
| Class 2 | Significant absorption, entire room | 3–5 days |
| Class 3 | Saturation of walls, ceilings, floors | 5–7 days |
| Class 4 | Deep, bound moisture in dense materials | 7–14 days |
These are ranges under good drying conditions with proper equipment. Material thickness, ambient temperature, and how quickly extraction started all shift the timeline. Hardwood floors and concrete slabs sit at the longer end even for Class 2 events because moisture binds tightly to dense materials.
Three tools confirm whether drying is actually working:
- Moisture meters measure moisture content in wood and drywall directly. Drying is complete when readings fall within 2–4 percentage points of an unaffected reference area in the same structure.
- Hygrometers track relative humidity in the drying environment. Readings should trend downward daily.
- Psychrometers measure both dry-bulb and wet-bulb temperature, giving you the data to calculate vapor pressure differentials and confirm the drying environment is performing.
Daily psychrometric monitoring and equipment adjustment can reduce total drying time by 40–60%. Stopping equipment early based on how a surface feels rather than what a meter reads is one of the most common reasons drying fails. Incomplete drying leads to mold growth, structural damage, and persistent odors. You can learn more about how water damage spreads when moisture goes undetected in wall cavities and subfloor assemblies.
Why professional restoration produces faster, safer results
Certified restoration professionals apply the IICRC S500 standard from day one, which means the drying plan is built around psychrometric data rather than guesswork. That distinction shows up in results.
- Advanced monitoring technology. Professionals use thermal imaging cameras, penetrating moisture meters, and real-time psychrometric logging to catch moisture in wall cavities and under flooring that a surface check misses entirely.
- Correctly sized equipment. Equipment density relative to the moisture load and room size determines how fast drying progresses. Undersized equipment extends drying time and increases secondary damage risk.
- Mold and electrical safety. Wet environments near electrical panels, outlets, and wiring require power isolation before any equipment runs. Professionals assess this before setup, not after.
- Insurance coordination. Dealing with an adjuster while managing active water damage is genuinely difficult. Zerowaterrestoration works directly with insurance providers, handles documentation, and communicates with adjusters to keep out-of-pocket costs as low as possible.
Pro Tip: Ask any restoration company for their psychrometric logs from previous jobs. A company that tracks daily readings and adjusts equipment accordingly is operating at a fundamentally different level than one that sets fans and checks back in three days.
Zerowaterrestoration has served the Chicagoland area for over 10 years, with 24/7 emergency response across Schaumburg, Barrington, Lake Zurich, Streamwood, and the surrounding northwest suburbs. For realistic drying timelines by damage class, their site breaks down what to expect at each stage.
Incomplete drying almost always leads to mold. When it does, the remediation process is more involved than most homeowners expect. Understanding what mold remediation involves before it becomes necessary is worth your time.
Zerowaterrestoration gets your property dry faster than DIY alone
When a burst pipe or storm flood hits, the gap between a 3-day dry-out and a 10-day ordeal usually comes down to one thing: professional-grade equipment deployed correctly in the first 24 hours.
Zerowaterrestoration brings LGR dehumidifiers, commercial air movers, and thermal imaging to every job in the northwest Chicago suburbs, including water damage restoration in Barrington and Lake Zurich. The team arrives fast, sets up equipment to IICRC S500 standards, monitors daily, and handles your insurance paperwork from start to finish. Effective drying also reduces long-term repair costs significantly, a point worth reviewing alongside storm damage repair timing if your water damage followed a roof or exterior event. Call (847) 515-7000 or visit zerowaterrestoration.com for a free inspection.
Key Takeaways
Daily psychrometric monitoring combined with proper extraction, controlled airflow, and dehumidification is the most effective way to accelerate water damage drying and prevent secondary damage.
| Point | Details |
|---|---|
| Extract water first | Physical extraction is 500x more efficient than evaporation; do it before any drying equipment runs. |
| Control temperature and humidity | Hold the drying environment at 70°F–90°F and 40–50% relative humidity (RH) to maintain strong vapor pressure differentials. |
| Monitor with meters daily | Drying is complete only when moisture readings fall within 2–4% of an unaffected reference area. |
| Act within 48–72 hours | Early intervention gives porous materials like drywall the best chance of drying in place without demolition. |
| Zerowaterrestoration | Serves Chicagoland 24/7 with IICRC-standard drying, professional equipment, and full insurance coordination. |