
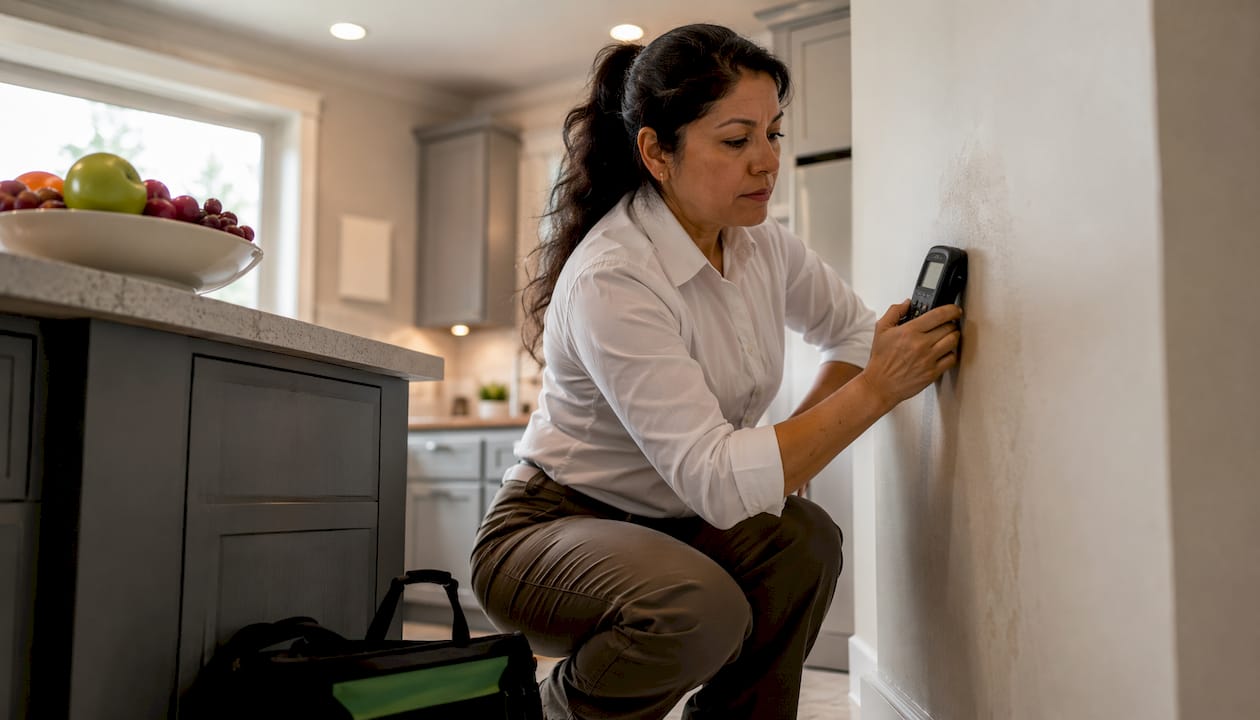
Hidden water damage behind walls typically shows up as unexplained stains, a persistent musty odor, soft or spongy drywall, or an unexplained spike in your water bill. The single most important thing you can do right now is stop the water source.
Your first 30 minutes:
- Isolate the source. If you suspect a plumbing leak, shut off the water supply to the affected fixture or the main shutoff.
- Document everything. Photograph stains, discoloration, and any visible damage with time-stamped photos before touching anything.
- Run a quick meter check. Turn off all fixtures and watch your water meter for movement. If the dial spins with everything off, you have an active pressurized hidden supply-line leak.
The EPA’s mold guidance and restoration professionals both agree: the longer moisture sits inside a wall cavity, the worse the outcome. Mold colonization can begin within 24–48 hours after materials stay wet. Speed matters more than anything else here.
Table of Contents
- What causes water to get behind your walls?
- Ten real-world examples of water damage hidden behind walls
- How do you inspect walls for hidden water damage?
- What are the real health and structural risks?
- What should you do right now to limit the damage?
- When should you call a restoration professional?
- Key Takeaways
- Zerowaterrestoration is ready when you need it
What causes water to get behind your walls?
Water finds its way into wall cavities through more routes than most homeowners expect. Knowing the source helps you prioritize where to look first.
- Pressurized supply-line leaks. Copper pinhole corrosion or a failed fitting behind a vanity or kitchen cabinet can drip for months before any surface sign appears.
- Drain and trap failures. A slow drain leak under a sink or a cracked P-trap lets water seep into the cabinet base and wick into adjacent drywall.
- Roof and window flashing failures. Damaged or missing flashing lets rainwater travel down the exterior sheathing and pool inside the wall below a window sill. Stains that grow only during or after rain point here, not to plumbing.
- Failed caulk or grout behind showers. Grout is not waterproof. Once it cracks, every shower sends water directly into the stud bay behind the tile.
- Appliance supply hose failures. Washing machine supply hoses and refrigerator ice-maker lines are common culprits. A slow weep behind the machine can saturate the wall for weeks before you notice.
- HVAC condensation and drain line issues. A clogged condensate drain line or a sweating supply duct inside an exterior wall cavity can deposit significant moisture without any plumbing failure at all. Humidity control is often the overlooked factor here.
- Condensation on exterior walls. In cold climates like Chicagoland, warm interior air meeting a cold exterior wall surface can condense inside the cavity, especially where insulation is thin or missing.
- Slab and foundation leaks. A pressurized line running under the slab can push water up through the concrete and into baseboards and lower wall sections.
The timing clue is useful: stains that appear or grow only during rain suggest exterior infiltration or a roof leak. A meter that spins on a dry day with no fixtures running points to a pressurized plumbing leak inside the wall.
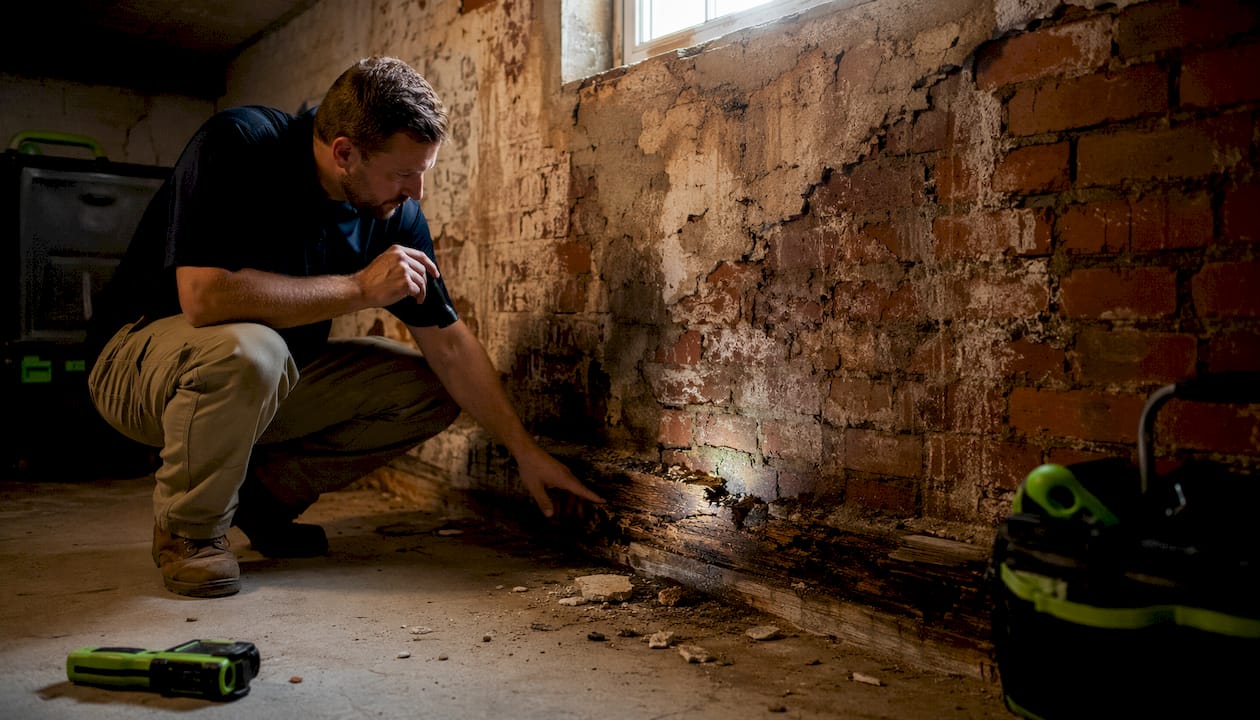
Ten real-world examples of water damage hidden behind walls
These scenarios cover the most common situations homeowners encounter. Each one pairs what you can see with what is hiding behind the surface, and flags how quickly things can escalate.
| Scenario | What You See | What’s Hidden | Timeline to Mold/Rot |
|---|---|---|---|
| Copper pinhole behind kitchen wall | Faint brown stain on drywall near cabinet | Wet insulation, corroding pipe | 24–48 hours in warm conditions |
| Leaking shower valve behind tile | Soft grout, loose tile, musty smell | Saturated cement board, black mold on studs | 48–72 hours |
| Condensation inside exterior wall (HVAC) | Peeling paint on exterior wall in winter | Wet fiberglass insulation, reduced R-value | Weeks to months, slower onset |
| Washing machine supply hose failure | Water pooling on laundry room floor | Soaked subfloor, wet wall cavity behind machine | 24–48 hours |
| Toilet tank leak into wall | Discoloration at base of wall near toilet | Wet drywall, mold behind baseboard | 48–72 hours |
| Water heater pan seep | Rust stains on floor near heater | Wet adjacent stud bay, corroded framing | Days to weeks |
| Roof leak above interior wall | Brown ceiling stain that grows after rain | Wet insulation, saturated top plate | 48–72 hours after each rain event |
| Ice dam wall leak | Stain at top of wall near exterior corner in winter | Water behind vapor barrier, wet framing | 48–72 hours |
| Slab leak migrating into baseboards | Warm or damp floor, baseboard separation | Water wicking up drywall from below | Days |
| Leaking HVAC drain line inside chase | Musty smell near air handler, high humidity | Wet drywall inside mechanical chase | Weeks |
A few of these deserve a closer look:
Shower valve leak behind tile. This is one of the most consistently underestimated sources. Tile looks solid, so homeowners assume the wall behind it is fine. But grout cracks and caulk fails, and once water gets past the tile, soft or spongy drywall and baseboard separation are the first signs that something has been wrong for a while. A borescope through a small access hole in an adjacent closet wall can confirm active moisture or mold without demolishing the tile.
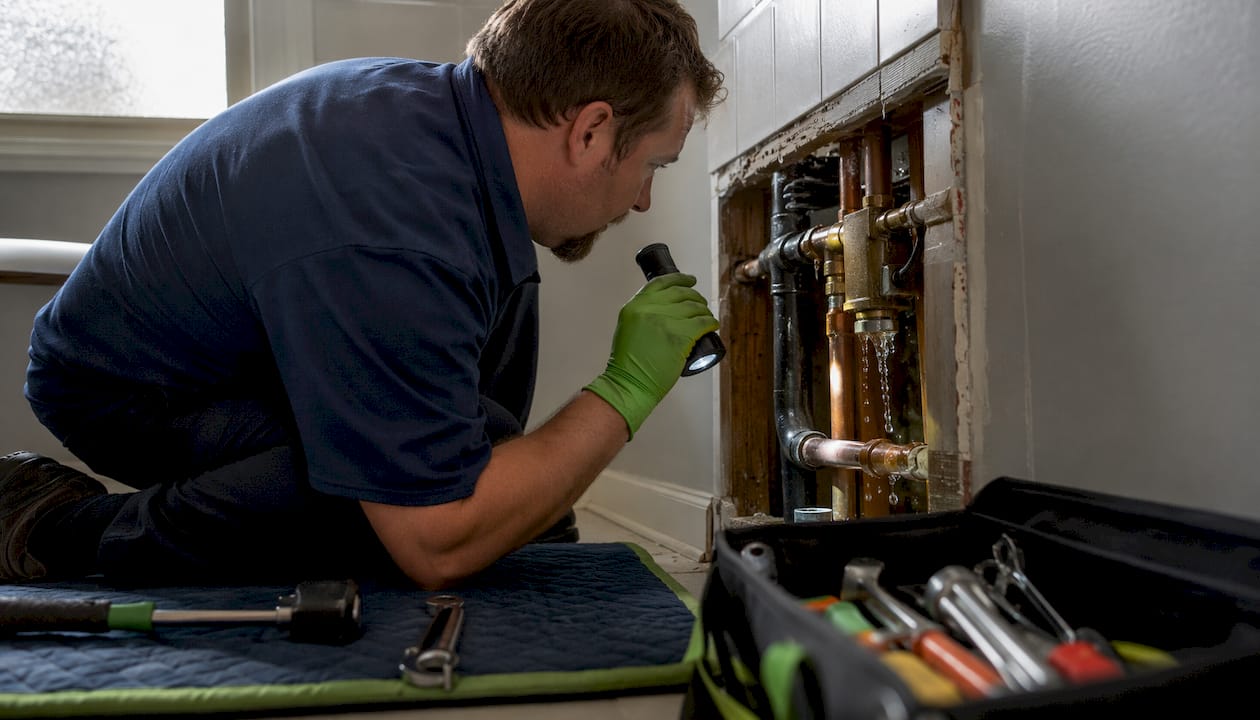
Slab leak into baseboards. You might notice a warm spot on the floor, a faint damp smell at floor level, or baseboards that seem to be pulling away from the wall. The water source is below the slab, which means shutting off the main line stops the flow but does not dry out what has already wicked up into the framing. A moisture meter scan along the baseboard line will show elevated readings well beyond the visible stain.
HVAC condensate drain line. This one is sneaky because there is no plumbing failure and no rain event to blame. A clogged drain line inside a mechanical chase drips slowly, and wet insulation loses R-value while forcing your system to run longer. The first sign is often an unexplained rise in your energy bill, not a visible stain.
How do you inspect walls for hidden water damage?
The best approach moves from least invasive to most invasive. You want to confirm moisture before you open anything.
Numbered inspection workflow:
- Isolate all water use and watch the meter. Turn off every fixture and appliance. Check the meter for movement over 10–15 minutes. Movement confirms a pressurized leak somewhere in the system.
- Visual scan of wall finishes. Look for staining, discoloration, peeling or bubbling paint, wallpaper pulling away from the surface, and any visible warping or bowing in the drywall.
- Tactile check. Press gently on suspect areas. Wet gypsum core loses rigidity and feels soft or spongy compared to surrounding dry drywall.
- Smell test. A persistent musty or earthy odor near a wall, even without visible staining, is a reliable indicator of active moisture or mold growth behind the surface. The EPA notes that hidden mold is often detected by smell before it is ever seen.
- Pinless moisture meter scan in a grid. Run the meter across the suspect wall in a grid pattern, comparing readings to a known-dry section of the same wall. Single-point readings can mislead you; a grid scan with a dry baseline gives a reliable moisture map.
- Thermal imaging. A thermal camera detects surface temperature differences caused by evaporative cooling from wet areas. Thermal imaging is particularly effective behind tile or insulated walls where a moisture meter cannot penetrate.
- Borescope confirmation. If the meter and thermal scan point to a specific area, a borescope through a small access hole gives visual confirmation of mold, wet insulation, or active dripping without large demolition.
Tool reference:
- Pinless moisture meter — reads moisture content through drywall without puncturing it. Consumer models run $30–$80; professional units are more precise.
- Pin-type moisture meter — uses two probes for a direct reading; more accurate for confirming a specific spot after a pinless scan flags it.
- Thermal camera — consumer models (FLIR One, Seek Thermal) attach to a smartphone and cost $200–$400. Professional-grade units are significantly more accurate.
- Borescope/endoscope — flexible camera on a cable, inserted through a small drilled hole. Consumer models cost $30–$100 on Amazon. Professionals use higher-resolution units.
- Acoustic listening device — detects the sound of flowing water inside cavities. Effective for active leaks; less reliable for very slow drips or noisy environments. You can also check out a homeowner’s guide to leak detection for a broader overview of these technologies.
Safety first: If the suspect wall is near an electrical outlet, panel, or switch, do not press on it, probe it, or drill into it until the circuit is off. Water and live wiring in the same wall cavity is a genuine electrocution risk.
Pro Tip: Always establish your baseline moisture reading from a wall you know is dry — same material, same room — before scanning the suspect area. Without a baseline, elevated humidity in the room can make normal drywall look wet on a pinless meter.
What are the real health and structural risks?
The EPA recommends professional remediation when mold contamination covers more than 10 square feet, roughly a 3-foot by 3-foot patch. That threshold sounds large, but inside a wall cavity, mold can cover that area on the back of a single sheet of drywall without showing a single visible spot on the painted surface.
Mold colonization can begin within 24–48 hours after building materials stay wet under favorable temperature and humidity conditions. By 72 hours, active colonies are established. By the end of the first week, structural materials like OSB sheathing and wood studs can begin to soften.
Health risks include respiratory irritation, allergic reactions, and asthma triggers from airborne spores. Children, elderly occupants, and anyone with a compromised immune system face higher risk from prolonged exposure to mold-contaminated indoor air.
Structural risks compound over time. Wet gypsum drywall loses structural rigidity within days. Wood studs begin to rot after weeks of sustained moisture. Saturated fiberglass insulation loses its R-value and never fully recovers even after drying. In exterior walls, this means your HVAC system works harder to compensate, which shows up on your energy bill before you ever see a stain.
The electrical hazard is the one most homeowners underestimate. Water migrating inside a wall cavity can reach outlets, switches, and wiring. A wet junction box or saturated wire insulation creates a short-circuit and fire risk that persists even after the visible moisture is gone.
Catching a slow leak early means a plumber and a patch. Missing it for six months can mean full drywall replacement, stud sister repairs, mold remediation, and an insurance claim. The cost difference is not marginal.
What should you do right now to limit the damage?
Do these things immediately:
- Shut off the water supply to the affected area, or the main shutoff if you cannot isolate the source.
- Turn off the electrical circuit serving any outlets or fixtures near the wet wall.
- Contain pooling water with towels or a wet/dry vacuum. Remove valuables and furniture from the affected area.
- Photograph everything: stains, meter readings, affected surfaces, and any visible mold. Note the date and time on each photo.
- Save receipts for any emergency purchases (fans, dehumidifiers, tarps) for your insurance claim.
Do not do these things:
- Do not crank up the heat to “dry things out” without ventilation. Heat without airflow raises humidity and accelerates mold growth.
- Do not run fans directly toward a wall you suspect has mold. Fans spread spores to unaffected areas.
- Do not start tearing out drywall if you see or smell mold. Disturbing mold without containment releases spores into the rest of the house.
- Do not delay calling a professional if you cannot find the source, if the leak continues after shutoff, or if you see any visible mold growth.
Quick decision rule: If you stopped the source, the affected area is small (under a few square feet), and there is no mold smell, basic drying with a dehumidifier and monitoring may be enough for 24–48 hours. If the source is unknown, the area is large, or you smell mold, stop and call a restoration professional. For more on protecting your home from escalating damage, the steps above are your starting point.
When should you call a restoration professional?
Some situations are beyond what a homeowner should handle alone. Call a professional when:
- Visible mold covers more than 10 square feet (the EPA threshold for professional remediation).
- You cannot locate the water source after shutting off the main line.
- The leak involves a slab, foundation, or multi-story chase.
- Structural sagging, soft studs, or significant baseboard separation is present.
- Water is near electrical panels, outlets, or wiring.
- Active flooding continues despite shutoff attempts.
What professional remediation typically involves:
- Assessment and moisture mapping. A technician uses thermal imaging and moisture meters to map the full extent of moisture migration, not just the visible stain.
- Emergency water extraction. Standing water and saturated materials are extracted before drying begins.
- Controlled demolition. When necessary, drywall is removed surgically to expose wet framing and insulation. A good crew takes only what needs to go.
- Drying and monitoring. Industrial dehumidifiers and air movers run for several days. Moisture readings are logged daily until materials reach target levels.
- Mold remediation. If mold is present, professional mold remediation follows containment protocols before reconstruction begins.
- Reconstruction and verification. Drywall, insulation, and finishes are restored. A final moisture reading confirms the wall is dry before it is closed.
Cost factors homeowners should expect: ease of access (finished basement vs. open framing), total area affected, presence of mold, extent of required demolition, and local labor rates. Insurance documentation, including moisture maps and thermal images, is standard in a professional report and critical for claim support. For a full breakdown of what the restoration process looks like for Illinois homeowners, that page covers each phase in detail.
Pro Tip: Before the contractor closes any wall, ask for a final moisture reading log showing that all affected materials have reached acceptable dry standard levels. A reputable crew will have this documentation ready. If they cannot produce it, the wall is not ready to close.
Key Takeaways
Hidden water damage behind walls requires fast action: stopping the source within the first 30 minutes and confirming moisture with a meter or thermal scan can prevent a small leak from becoming a full mold remediation and reconstruction project.
| Point | Details |
|---|---|
| Mold starts fast | Colonization can begin within 24–48 hours of materials staying wet; act the same day you find signs. |
| Meter test first | Shut off all fixtures and watch the water meter; movement confirms an active pressurized leak before you open any wall. |
| Grid scan, not spot check | Use a pinless moisture meter in a grid pattern with a dry baseline to avoid false positives from ambient humidity. |
| EPA 10 sq ft rule | Mold covering more than 10 square feet requires professional remediation, not DIY spot treatment. |
| Zerowaterrestoration | Available 24/7 for emergency response in the Chicagoland northwest suburbs, handling extraction, drying, mold remediation, and insurance coordination. |
The mistake that costs homeowners the most
The single most common error I see is homeowners painting over a stain or wiping surface mold with bleach while the moisture source stays active behind the wall. The stain comes back in two weeks, the mold is worse, and now the framing has had another two weeks to absorb water. Spot treatment without source control is not a repair. It is a delay.
The second mistake is waiting to see if it gets worse. With hidden water damage, “getting worse” happens inside the wall where you cannot see it. By the time the drywall feels soft or the baseboard pulls away, the stud bay has often been wet for weeks. Non-destructive tools like borescopes and thermal cameras exist precisely so you do not have to guess or wait. A small access hole and a camera takes 20 minutes and tells you exactly what is behind the surface.
The good news: most hidden leaks, caught early, are straightforward repairs. The damage that becomes expensive is almost always damage that was given time.
Zerowaterrestoration is ready when you need it
When you find signs of water damage behind a wall and need professional help fast, Zerowaterrestoration responds 24/7 to emergencies throughout the Chicagoland northwest suburbs, including Schaumburg, Arlington Heights, Palatine, Barrington, Hoffman Estates, and surrounding communities.

One call gets you a team on-site with moisture mapping equipment, containment materials, and industrial drying gear. Here is what you get from an emergency response:
- Full moisture mapping with thermal imaging and meter readings
- Water extraction and containment to stop further spread
- A documented scope of work for your insurance adjuster
- Drying and monitoring until materials reach verified dry levels
- Mold remediation and reconstruction when needed
Zerowaterrestoration works directly with insurance providers to handle documentation and adjuster communication, keeping your out-of-pocket costs as low as possible. Preserve your time-stamped photos and any receipts from emergency purchases before the team arrives. For homeowners in the northwest suburbs, the water damage restoration page covers local service details and how to reach the team. Call (847) 515-7000 for a free inspection and estimate.
Useful sources and further reading
- A Brief Guide to Mold, Moisture and Your Home (US EPA) — The primary reference for understanding where hidden mold grows, what conditions drive it, and how to interpret what you find. Start here for authoritative guidance.
- Mold Cleanup in Your Home (US EPA) — Covers the 10 sq ft professional remediation threshold and step-by-step cleanup guidance for homeowners handling smaller areas safely.
- Homeowner’s and Renter’s Guide to Mold Cleanup after Disasters (US EPA) — Developed jointly by EPA, HUD, FEMA, NIH, and CDC; useful for post-flood or post-storm situations where wall cavities are at risk.
- Use of Moisture Measuring Devices for Evaluating Water Damage (Mass.gov) — Practical technical reference on how moisture meters work, their limitations, and how professionals interpret readings in building materials.
- How to Find a Hidden Water Leak in Your Wall (Plumbing Guider) — Step-by-step homeowner guide covering the meter test, moisture meter technique, and thermal imaging basics.
- What Is Leak Detection? A Homeowner’s Guide — Overview of leak detection technologies and when to bring in a specialist rather than DIY.
- Water Damage Restoration Process for Illinois Homeowners (Zerowaterrestoration) — Explains each phase of professional restoration, from assessment through reconstruction, specific to Illinois homeowners.
- How to Identify Water Damage Warning Signs at Home (Zerowaterrestoration) — Practical visual and tactile checklist for homeowners doing a first-pass inspection.
- The Unknown Risks of Water Damage (Zerowaterrestoration) — Covers structural, electrical, and health risks in detail, with context on why prompt remediation prevents escalating costs.