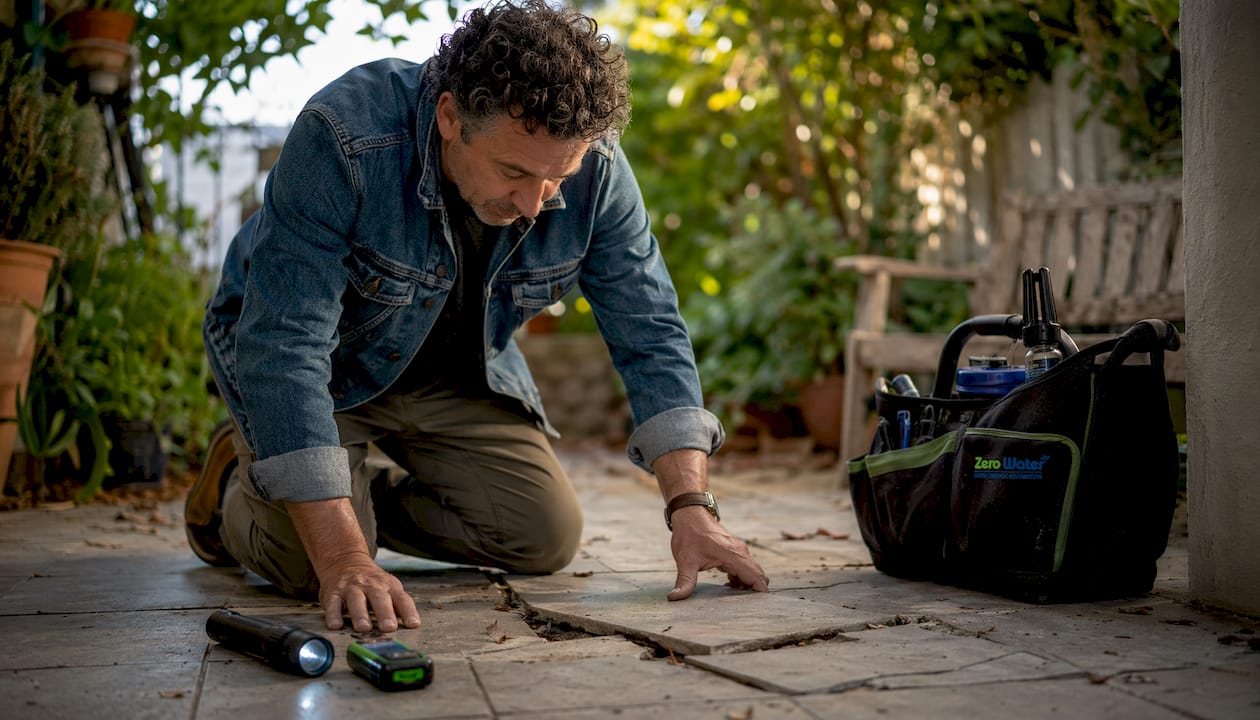
Water trapped beneath tile flooring causes damage because tiles are nearly impervious to moisture, which means any water that gets under them has nowhere to go. It sits in the mortar, thinset, and concrete subfloor, slowly destroying the materials that hold your floor together. Here is what actually happens:
- Grout lines, hairline cracks, and failed perimeter seals act as entry points, letting water migrate into the mortar bed below.
- Once trapped, water cannot evaporate through the tile itself, so it accumulates and saturates porous substrates.
- Thermal expansion of trapped water molecules builds pressure beneath the tile, eventually breaking the adhesive bond.
- Hydrostatic pressure pushes upward against the tile, causing lifting, tenting, and debonding over weeks or months.
- Mineral salts dissolved by the water crystallize at grout lines as efflorescence, physically wedging the thinset away from the slab.
- Persistent moisture creates conditions for mold growth, which affects both the subfloor structure and the air you breathe indoors.
Understanding why this happens is the first step. Knowing where the water comes from, what to look for, and how to stop it is what protects your home.
How water gets under your tile floor
Water finds its way beneath tile through several predictable pathways, and most of them are easy to overlook until the damage is already done.
- Deteriorated grout lines. Grout is porous and absorbs water when old or improperly sealed. Over time, it cracks and crumbles, opening direct channels to the substrate below.
- Hairline cracks in tiles. Even a minor impact can fracture a tile without visibly breaking it. Those micro-cracks in tile become perfect water entry points.
- Failed sealants and waterproof membranes. Caulk around tubs, showers, and cabinetry degrades over time. When those perimeter seals fail, water escapes directly to the subfloor edge.
- Hidden plumbing leaks. A slow drip from a pipe behind a wall or under the subfloor can saturate hidden substrates for months before you notice anything on the surface.
- Condensation in poorly ventilated spaces. Bathrooms and kitchens without adequate airflow generate moisture that settles on tile edges and seeps through grout over time.
- Groundwater seepage. Homes on slab-on-grade foundations or with basements can experience moisture rising through the concrete, especially after heavy rain.
- Improper installation. Missing movement joints, wrong adhesive selection, or insufficient thinset coverage all leave voids where water collects and pressure builds.
Signs of water damage under tile you should not ignore
Some of these signs appear quickly after a leak. Others take weeks or months to show up, which is exactly why tile flooring moisture issues often catch homeowners off guard.
- Musty or moldy odors. A persistent damp smell in a tiled room, even when the surface looks dry, usually means moisture is active somewhere beneath the floor.
- Hollow sounds when tapping. Tap individual tiles with your knuckle. A dull, resonant sound instead of a solid thud indicates the tile has debonded from the substrate, often because moisture has broken the adhesive bond.
- Spongy or shifting tiles. Tiles that flex slightly underfoot or feel loose when you step on them have lost their bond to the mortar bed.
- Discolored or darkened grout. Grout that stays dark even when dry is absorbing moisture from below. Patches of discoloration on the tile surface itself can indicate oxidation in natural stone.
- Efflorescence. White, powdery deposits along grout lines are mineral salts migrating through the concrete and crystallizing at the surface. This is a reliable sign of ongoing moisture movement beneath the floor.
- Tenting or buckling tiles. Tiles lifting at the edges or forming a ridge in the middle are responding to hydrostatic pressure building from below.
- Stains on walls or ceilings below. Brown or yellow discoloration on a ceiling beneath a tiled bathroom means water has been traveling for a while.
The Institute of Inspection, Cleaning and Restoration Certification (IICRC) notes that mold can begin growing within 24 to 48 hours of water exposure. By the time you see tenting or efflorescence, the moisture has typically been present far longer.
How to prevent water damage under tile flooring
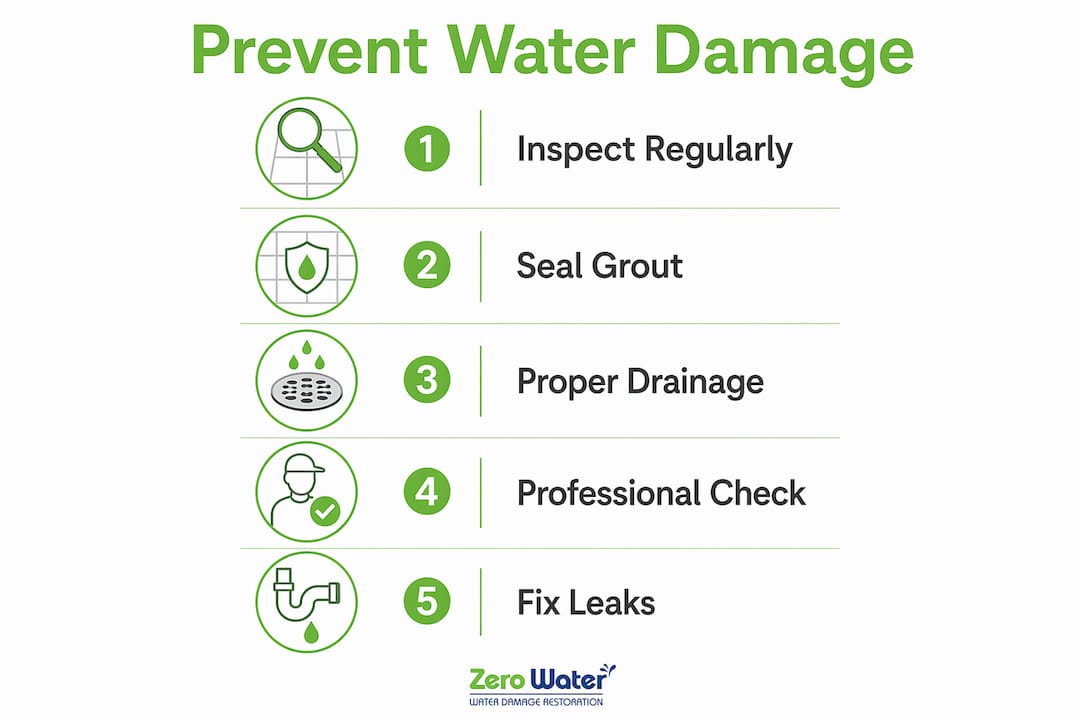
Prevention comes down to three things: good installation, regular maintenance, and catching small problems before they become expensive ones.
- Seal grout regularly. Unsealed or aged grout absorbs water readily. Resealing every one to two years in wet areas keeps the surface barrier intact.
- Install proper waterproof membranes. Wet areas like showers and tub surrounds need a waterproofing membrane beneath the tile, not just water-resistant backer board.
- Use movement accommodation joints. The Tile Council of North America’s standard EJ171 requires flexible joints at perimeters and field intervals. Filling these with grout instead of flexible sealant removes their function entirely and forces stress into the tile assembly.
- Inspect plumbing annually. Slow leaks from supply lines, drain connections, and appliances like dishwashers are among the most common hidden sources of subfloor moisture.
- Maintain perimeter caulk. Replace cracked or peeling caulk around tubs, showers, toilets, and cabinetry before water finds the gap.
- Control indoor humidity. Run exhaust fans during and after showers. In basements or high-humidity areas, a dehumidifier keeps ambient moisture from seeping through grout over time.
- Repair cracked tiles promptly. A hairline crack today becomes a water channel tomorrow.
Pro Tip: Schedule a professional moisture inspection every few years for bathrooms and kitchens, especially in older homes. Technicians use in-situ probes and moisture meters to catch elevated readings in the substrate before any visible damage appears.
How to repair water damage under tile flooring
Once you confirm water has gotten beneath the tile, the repair process follows a clear sequence. Skipping steps, especially the drying phase, is how the problem comes back.
- Stop the water source first. Repairing tiles over an active leak accomplishes nothing. Identify and fix the plumbing issue, failed membrane, or grout breach before anything else.
- Remove damaged tiles and grout. Tiles that sound hollow or show tenting need to come up. Trying to re-bond them without addressing the substrate beneath will fail.
- Dry the substrate thoroughly. Surface fans are not enough. Professional-grade drying equipment, including desiccant dehumidifiers and directed airflow systems, is required to pull moisture from porous concrete and mortar.
- Remove efflorescence mechanically. Salt deposits must be ground off the slab surface, not just wiped away. Leaving them behind prevents new adhesive from bonding properly.
- Inspect and repair the subfloor. Wood subfloors need to be checked for rot and structural compromise. Concrete slabs should be examined for cracks or spalling before reinstallation begins.
- Verify moisture levels before reinstalling. Do not lay new tile until the slab is confirmed dry. Industry standards require testing before new flooring goes down.
- Reinstall with proper waterproofing and movement joints. Use the correct thinset for the tile type, install a waterproof membrane in wet areas, and leave flexible joints at perimeters.
- Call a restoration professional for mold or extensive damage. If the subfloor shows rot, mold, or contamination from Category 2 or 3 water, professional remediation is the right call, not a DIY repair.
Professional restoration techniques and industry standards for tile floors
Professional water damage restoration goes well beyond pulling up a few tiles and running a fan. The process follows documented standards because the physics of drying a tile assembly are genuinely complex.
- Moisture mapping with in-situ probes and calcium chloride tests. Professionals use concrete moisture testing to measure internal relative humidity (IRH) across the slab before making any reinstallation decisions.
- ASTM F2170 compliance. This industry standard requires the internal relative humidity of a concrete slab to fall below 75–80% before tile can be safely installed. Installing over a slab above that threshold seals in moisture that will eventually cause tenting.
- Removal of all hollow-sounding tiles and contaminated thinset. Old thinset contaminated with salt crystals must be ground off to open the concrete’s pores for proper drying and re-bonding.
- Mechanical efflorescence removal. Salt deposits are physically removed, not wiped. Leaving them creates a bond-breaking layer that causes new tile to fail.
- Vapor barrier and emission controls. When moisture is rising from beneath the slab due to a failed vapor barrier or high water table, epoxy moisture barriers or other mitigation systems are applied before reinstallation.
- Professional drying systems. Negative air pressure pulls moisture vapor upward through grout lines and micro-voids. Positive pressure forces dry, heated air into wet substrates. Both techniques go far beyond what a household dehumidifier can achieve.
- Documentation for insurance claims. Restoration professionals photograph moisture readings, document affected areas, and communicate directly with insurance adjusters. For homeowners navigating a water damage claim, that documentation is what keeps out-of-pocket costs manageable.
Standard surface drying is insufficient for tile flooring assemblies. Professional moisture mapping and drying are required to prevent costly subfloor damage that may not appear until weeks after the visible water is gone.
What materials under tile are most vulnerable to water
The tile itself is not the problem. Ceramic and porcelain tiles have a vapor transmission rate near zero, meaning water passes through them at essentially no measurable rate. The vulnerability lies entirely in what sits beneath.
Cementitious thinset and mortar are highly porous. They absorb water readily and, when they interact with substrates that dry at different rates, thermal expansion causes them to debond from the slab or the tile above. Concrete slabs can hold significant moisture for months. A standard 4-inch slab saturated by a pipe burst can take months to dry naturally without professional intervention.
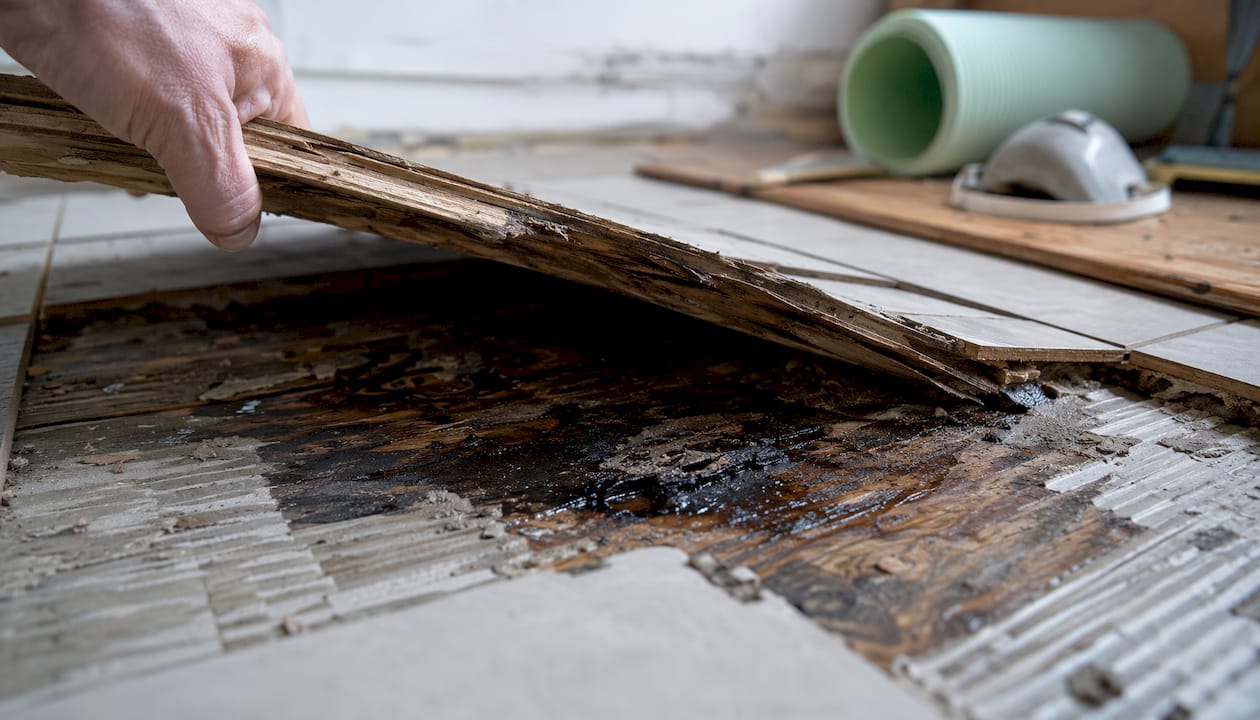
Wood subfloors are the most immediately vulnerable. Wood swells when wet, physically jacking tiles upward and causing tenting. Prolonged exposure leads to rot, which compromises the structural integrity of the floor system entirely. Older underlayment materials, including some vinyl or felt-based products used in older homes, can trap moisture against the wood subfloor and accelerate deterioration.
Natural stone tiles like marble and travertine add another layer of complexity. Unlike ceramic, natural stone is porous and absorbs water into the tile itself, making it susceptible to staining, spalling, and subflorescence where salt crystals form inside the stone rather than at the surface.
Long-term effects of water damage under tile on structural integrity
The damage rarely stops at the tile. Left unaddressed, moisture beneath a tile floor works its way into the broader structure of the home.
Wood floor joists beneath a water-damaged subfloor absorb moisture over time, softening and eventually rotting. A compromised joist cannot carry the load it was designed for, which creates soft spots, sagging floors, and in severe cases, structural failure. Walls adjacent to chronically wet tile floors can absorb moisture through the base plate, leading to rot and mold inside the wall cavity.
Concrete slabs experience their own long-term deterioration. Sulfate-reducing bacteria present in Category 2 and 3 water produce sulfuric acid as a byproduct, which degrades cementitious materials including thinset over time. Repeated wetting and drying cycles cause the slab to expand and contract, widening existing cracks and creating new ones. The unknown risks of water damage extend well beyond what is visible at the floor surface, which is why early intervention matters so much.
How to detect water under tile beyond what you can see
Visual inspection catches late-stage damage. These methods find it earlier.
Tap testing is the simplest tool you have. Knock on each tile with your knuckle or a small mallet. A hollow, resonant sound means the tile has separated from the substrate, often because moisture has broken the adhesive bond beneath it.
Thermal imaging cameras detect temperature differences across the floor surface. Wet areas retain heat differently than dry ones, making hidden moisture pockets visible as distinct zones on the camera display. Restoration professionals use infrared cameras as a standard part of moisture mapping.
In-situ relative humidity probes are inserted directly into drilled holes in the concrete slab. They measure the internal relative humidity at depth, which is far more accurate than surface readings. This is the method required by ASTM F2170 before reinstalling flooring.
Calcium chloride tests measure vapor emission from the slab surface over a set period. The result tells you how much moisture is actively escaping the concrete, which guides decisions about whether a vapor barrier or additional drying is needed before new tile goes down.
A moisture meter with a pin or pinless probe can also give quick surface readings on grout lines and adjacent baseboards, flagging areas that warrant closer investigation.
How water under tile affects indoor air quality and mold risks
Mold does not need much. A damp, dark space beneath an impermeable tile surface is close to ideal conditions for microbial growth. Once mold establishes itself in the thinset, mortar, or wood subfloor, it releases spores into the living space above through grout joints and wall gaps.
The health effects range from mild respiratory irritation to serious reactions in people with asthma or compromised immune systems. Some mold species produce mycotoxins, which are toxic compounds that persist even after the mold itself is removed. The EPA recommends HEPA filtration during mold remediation to capture airborne spores and prevent cross-contamination to other areas of the home.
Contaminated water, specifically Category 2 (gray water) and Category 3 (black water), introduces bacteria and organic material beneath the tile that remains trapped long after the visible water is gone. Bacteria like E. coli can survive for extended periods in high-moisture environments beneath impermeable tile. That contamination does not resolve on its own. Professional mold remediation addresses both the biological contamination and the moisture source driving it, which is the only way to fully restore safe indoor air quality.
When to call Zerowaterrestoration
If you are seeing hollow tiles, efflorescence, musty odors, or soft spots in your floor, the damage is already underway. Zerowaterrestoration serves homeowners throughout the northwest suburbs of Chicago, including Schaumburg, Arlington Heights, Palatine, Barrington, and surrounding communities. The team is available 24/7 for emergency response and handles everything from moisture mapping and professional drying to full tile floor water damage restoration and mold remediation.
Zerowaterrestoration also works directly with insurance providers, managing documentation and adjuster communication so you are not doing that on top of everything else. Call (847) 515-7000 or visit zerowaterrestoration.com for a free inspection and estimate.
Key Takeaways
Water under tile causes damage because the tile itself traps moisture in porous substrates, where it builds pressure, breaks adhesive bonds, and creates conditions for mold growth.
| Point | Details |
|---|---|
| Tile traps moisture below | Ceramic and porcelain tiles have near-zero vapor transmission, forcing all trapped water into mortar, thinset, and concrete. |
| Hydrostatic pressure causes tenting | Moisture vapor builds upward force beneath impermeable tile, lifting and debonding tiles weeks or months after the initial water event. |
| Efflorescence signals active moisture | White powdery deposits at grout lines are mineral salts migrating through the slab, confirming ongoing moisture movement beneath the floor. |
| ASTM F2170 sets the drying standard | Concrete slab internal relative humidity must fall below a recommended threshold before new tile can be safely installed to avoid repeating the damage cycle. |
| Mold risk begins fast | The IICRC notes mold can begin growing within 24 to 48 hours of water exposure, making prompt professional response critical for air quality. |