
Roof leak water damage repair is the process of locating a roof breach, stopping active water intrusion, and restoring all affected materials before structural decay or mold takes hold. A leak that looks minor on your ceiling can already be saturating insulation, soaking roof decking, and setting up conditions for mold growth within 24 to 48 hours. That timeline is unforgiving. The difference between a $500 fix and a $15,000 structural rebuild often comes down to how fast you act and whether you correctly identify where the water is actually entering your home.
How to locate the true source of a roof leak
The ceiling stain you see is almost never where the leak starts. Water travels along rafters, joists, and roof decking before it drips down, meaning the actual breach is often 6 to 15 feet away from the visible stain. Chasing the stain with caulk or patches is one of the most common and costly mistakes homeowners make.
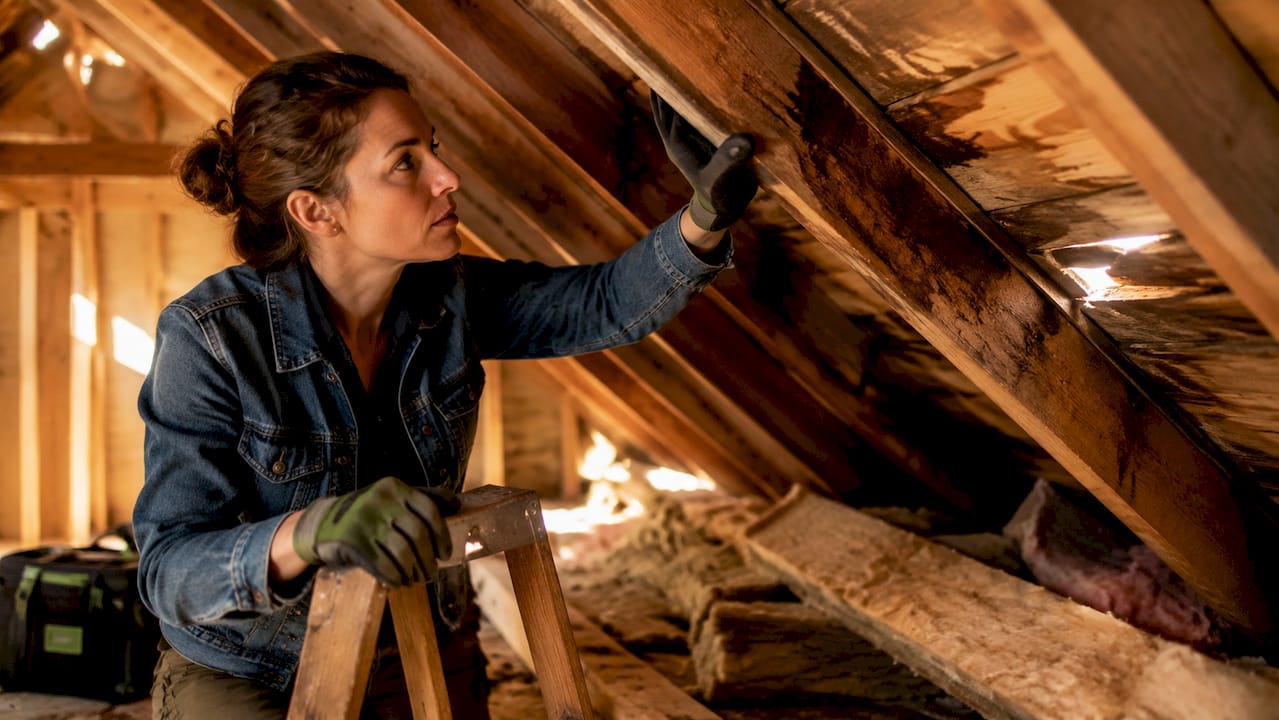
Start your investigation in the attic. Bring a flashlight and look for wet insulation, dark staining on wood, or daylight showing through the decking. Follow the moisture uphill from the wet spot toward the roof peak. The highest point of moisture concentration is your best indicator of where water is entering.
The most reliable DIY diagnostic method is the garden hose test. Have one person on the roof running water over specific sections while another watches from the attic. Start low on the roof and work upward in sections, soaking each area for several minutes before moving on. This isolates the entry point without guesswork.
The most common leak sources on residential roofs include:
- Pipe boots (the rubber or metal collars around plumbing vents): these crack and shrink with age and are responsible for a large share of residential leaks
- Step flashing and counter flashing at roof-to-wall joints, dormers, and chimneys
- Valley flashing where two roof planes meet
- Roof vents and skylights, especially around the seals and collars
- Missing, cracked, or curled shingles that expose the underlayment
Pro Tip: When hiring a contractor, ask them to name the specific failed component. “Pipe boot failure” or “step flashing separation” is a real diagnosis. “We’ll reseal the area” is not. Vague answers lead to repairs that fail within one season.
What to do immediately when your roof is actively leaking
Speed is the controlling factor in how much damage you end up with. Emergency response for active leaks should happen within 60 minutes, with structural framing dried to below 16% moisture content and drywall kept below a 1% relative scale to prevent permanent damage.
Follow these steps in order:
- Turn off electrical circuits in any room where water is entering or pooling. Water and live circuits are a life-safety issue, not a convenience issue.
- Place buckets and lay down plastic sheeting to protect flooring and furniture from ongoing drips.
- Drain ceiling bubbles carefully. If you see a bubble forming in your ceiling, ceiling bubbles can hold gallons of water. Puncturing one carelessly can release a sudden surge that damages floors, electronics, and anything below. Use a small screwdriver to pierce the lowest point and direct the flow into a bucket.
- Apply a heavy-duty tarp to the roof exterior. A 6-mil polyethylene tarp should extend at least 4 feet past the suspected leak area on all sides and run over the ridge to prevent wind lift. Secure it with 2×4 boards, not just rope. For detailed guidance on temporary roof protection, professional methods go further than most homeowners expect.
- Document everything with photos and video before you clean up anything. Photograph the ceiling stain, the attic moisture, the damaged materials, and the exterior roof condition. This documentation is your insurance claim.
Pro Tip: Never attempt to caulk or seal a leak from the attic side. Attic-side caulking traps moisture against the decking, accelerates wood rot, and masks the real problem. It is one of the most common DIY mistakes that turns a simple repair into a full decking replacement.
Step-by-step approach to permanent roof leak water damage repair
Permanent repair requires fixing both the roof breach and the interior water damage. Addressing only one side of the problem guarantees a repeat situation.
- Repair the roof breach first. Replace damaged or missing shingles, install new step flashing at wall junctions, and replace cracked pipe boots entirely rather than patching them. Flashing repairs typically run $200 to $600, while a full pipe boot replacement costs $150 to $300 per unit.
- Remove all wet insulation. Saturated insulation cannot be dried in place. It acts like a sponge, holding moisture against the decking and framing for weeks. It must come out completely before any drying or reconstruction begins.
- Assess and remove damaged drywall. Cut out any drywall that shows saturation, staining, or softness. Leaving wet drywall in place creates a mold substrate within days.
- Dry the structural framing. Use commercial-grade dehumidifiers and air movers to bring framing moisture below 16%. Consumer box fans are not sufficient for this step. Professionals use moisture meters to confirm dryness before closing walls.
- Treat for mold prevention. Apply an EPA-registered antimicrobial treatment to all exposed framing before installing new insulation or drywall. For a full breakdown of the water damage restoration process in Illinois, the steps go well beyond surface drying.
- Reinstall insulation and drywall, then prime and paint. Match the insulation R-value to the original specification for your climate zone.
Here is a quick reference for repair scope by damage type:
| Damage type | Typical repair scope | Estimated cost range |
|---|---|---|
| Single cracked shingle | Shingle replacement only | $150 to $400 |
| Failed pipe boot | Boot replacement, interior patch | $300 to $600 |
| Flashing failure | Reflashing, possible decking repair | $400 to $900 |
| Saturated insulation and drywall | Full removal, dry-out, reinstall | $1,500 to $5,000+ |
| Structural decking rot | Decking replacement, full restoration | $5,000 to $15,000+ |
For most homeowners, roof-side repairs above a single story require a licensed roofing contractor. Interior drying and mold prevention work is best handled by a certified water damage restoration company. Attempting to skip professional drying to save money is the single most common reason repairs fail and mold returns.
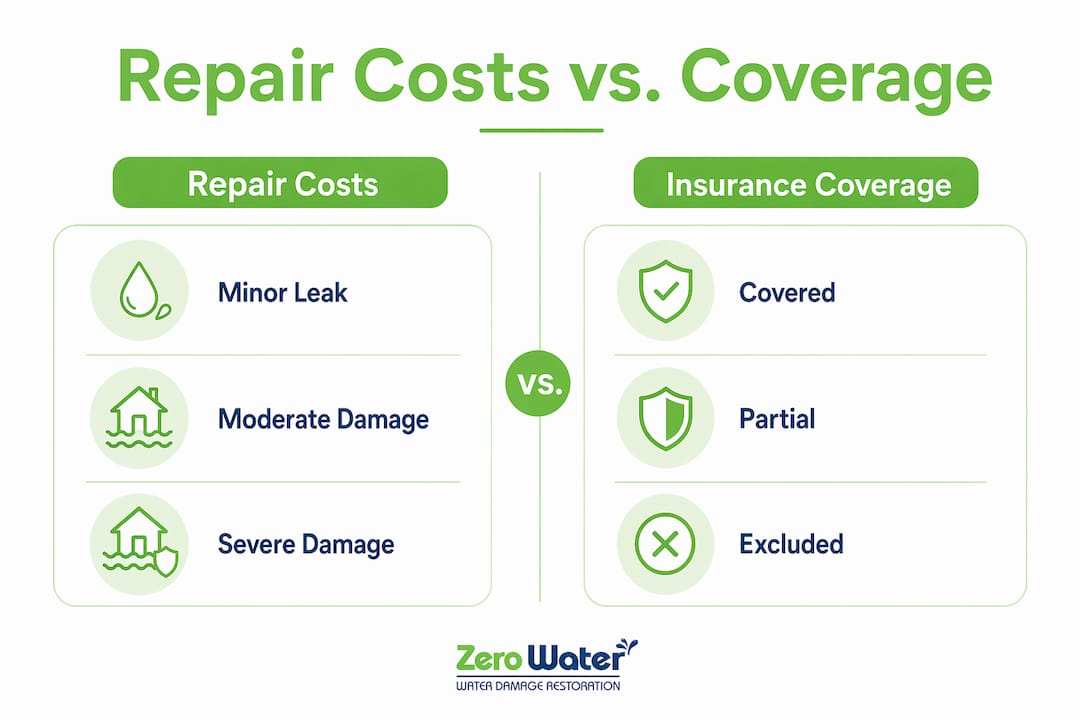
How do repair costs and insurance coverage compare?
Early intervention keeps repair costs in the $500 range. Delayed repairs that allow rot, mold, and structural damage to develop can push costs past $15,000. That cost gap is not gradual. It accelerates sharply once framing becomes saturated and mold colonies establish.
Most standard homeowners insurance policies cover sudden and accidental water damage from roof leaks, but they exclude damage caused by long-term neglect or lack of maintenance. This distinction matters enormously when you file a claim. A leak that developed over two seasons of ignored warning signs will likely be denied. A leak caused by storm damage to a well-maintained roof will typically be covered.
For window leak water damage repair, the coverage logic is similar. Sudden storm-driven window failures are generally covered; deteriorated seals from age are not. Always document the triggering event, whether it is a named storm, hail, or wind damage, with date-stamped photos.
When filing a claim, submit photos, a written timeline of when you first noticed the damage, and any contractor estimates. Ask your contractor to specify the cause of failure in writing. Insurance adjusters look for evidence of sudden damage versus gradual deterioration, and a specific diagnosis from a contractor carries more weight than a general repair estimate.
How to prevent future roof leaks and water damage
The most cost-effective approach to roof leak prevention is a twice-yearly inspection, once in spring after winter stress and once in fall before freeze-thaw cycles begin. Most roof failures give visible warning signs months before they cause interior damage.
Key prevention practices include:
- Inspect and clean gutters every spring and fall. Blocked gutters force water under fascia boards and into the roof edge, one of the most overlooked leak entry points.
- Trim tree branches that overhang the roof. Branches deposit debris, hold moisture against shingles, and can cause physical damage during storms.
- Check pipe boots and flashing seals annually. Rubber pipe boots have a lifespan of 10 to 15 years. Replacing them proactively costs a fraction of the water damage they cause when they fail.
- Verify attic ventilation is functioning. Poor attic ventilation causes heat and moisture buildup that degrades shingles from the inside out and accelerates ice dam formation in cold climates like the Chicago northwest suburbs.
- Address any signs of roof leaks immediately, including ceiling discoloration, musty odors, or granule loss in gutters. Catching a problem at the granule-loss stage costs far less than catching it at the ceiling-stain stage.
For guidance on preventing mold after water exposure, the window between water intrusion and mold growth is shorter than most homeowners realize.
Key takeaways
Effective roof leak water damage repair requires finding the true breach source, stopping active water within 60 minutes, removing all saturated materials, and drying framing to below 16% moisture before reconstruction begins.
| Point | Details |
|---|---|
| Stains mislead, trace uphill | The visible ceiling stain is rarely the leak source. Follow moisture uphill in the attic to find the real entry point. |
| Act within 60 minutes | Emergency tarping and water control within one hour prevents framing saturation and limits total repair cost. |
| Remove wet insulation completely | Saturated insulation cannot dry in place. It must be removed to prevent rot and mold growth behind walls. |
| Mold starts in 24 to 48 hours | Mold growth begins within two days of water exposure, making professional drying a non-negotiable step. |
| Document everything for insurance | Date-stamped photos and a contractor’s written diagnosis are the two most important assets for a successful claim. |
What I’ve learned after years of roof leak calls
I have seen the same pattern repeat more times than I can count. A homeowner notices a small brown ring on the ceiling, figures it will dry out on its own, and calls us three weeks later when the drywall is soft and the smell has started. By that point, what was a $600 repair has become a $4,000 project.
The part that frustrates me most is the attic caulking trap. People go up there, find the wet spot, and seal it from the inside thinking they have solved it. They have not. They have just locked moisture against the decking where it will rot the wood silently for months. The only real fix is identifying the specific failed component on the exterior and replacing it.
The other thing I push hard on is contractor specificity. If someone tells you they will “reseal the roof area,” walk away. A real diagnosis names a component. Pipe boot. Step flashing. Valley liner. Vague language means they are guessing, and guessing on a roof repair means you will be calling someone again in six months.
One more thing worth saying plainly: the types of roof leak water damage that cause the most long-term harm are not the dramatic ones. The slow, intermittent leaks that only show up during certain rain angles are the ones that saturate framing over months before anyone notices. If you smell something musty in your attic or upper floor and cannot find a visible source, treat it as a leak until proven otherwise.
— Jim
Zero Water Restoration is ready when you need us
When a roof leak has already caused interior water damage, the clock is running. Zerowaterrestoration responds 24/7 to homes throughout Schaumburg, Arlington Heights, Palatine, Hoffman Estates, and the greater Chicagoland northwest suburbs. The team handles water extraction, structural drying with commercial-grade equipment, mold prevention treatment, and full reconstruction from start to finish. Zerowaterrestoration also works directly with your insurance provider to manage documentation and keep your out-of-pocket costs as low as possible. For professional water damage restoration services or certified mold remediation, call (847) 515-7000 or visit zerowaterrestoration.com for a free inspection and estimate.
FAQ
How fast does mold grow after a roof leak?
Mold begins growing within 24 to 48 hours of water exposure in wet insulation or drywall. Professional drying must begin immediately to prevent mold from establishing in wall cavities and framing.
Why is my ceiling stain in a different spot than the actual leak?
Water travels along rafters and roof decking before dripping down, placing the visible stain 6 to 15 feet away from the actual breach. Always trace moisture uphill in the attic to find the true entry point.
Can I fix a roof leak myself?
Minor repairs like replacing a single shingle or a cracked pipe boot are within reach for a confident DIYer with the right safety equipment. However, interior drying, mold prevention, and any repair involving common residential roof repair types beyond surface shingles typically require licensed contractors to avoid trapped moisture and failed repairs.
What does homeowners insurance cover for roof leak damage?
Most policies cover sudden and accidental roof leak damage, such as storm or hail events, but exclude damage from long-term neglect or deferred maintenance. Document the triggering event with date-stamped photos and get a written diagnosis from your contractor naming the specific failed component.
How much does roof leak water damage repair cost?
Costs range from $500 for minor repairs caught early to more than $15,000 for structural rebuilds caused by delayed action. Flashing repairs run $200 to $600, pipe boot replacement costs $150 to $300, and full interior restoration involving insulation, drywall, and mold treatment starts around $1,500 and scales with the extent of saturation.