
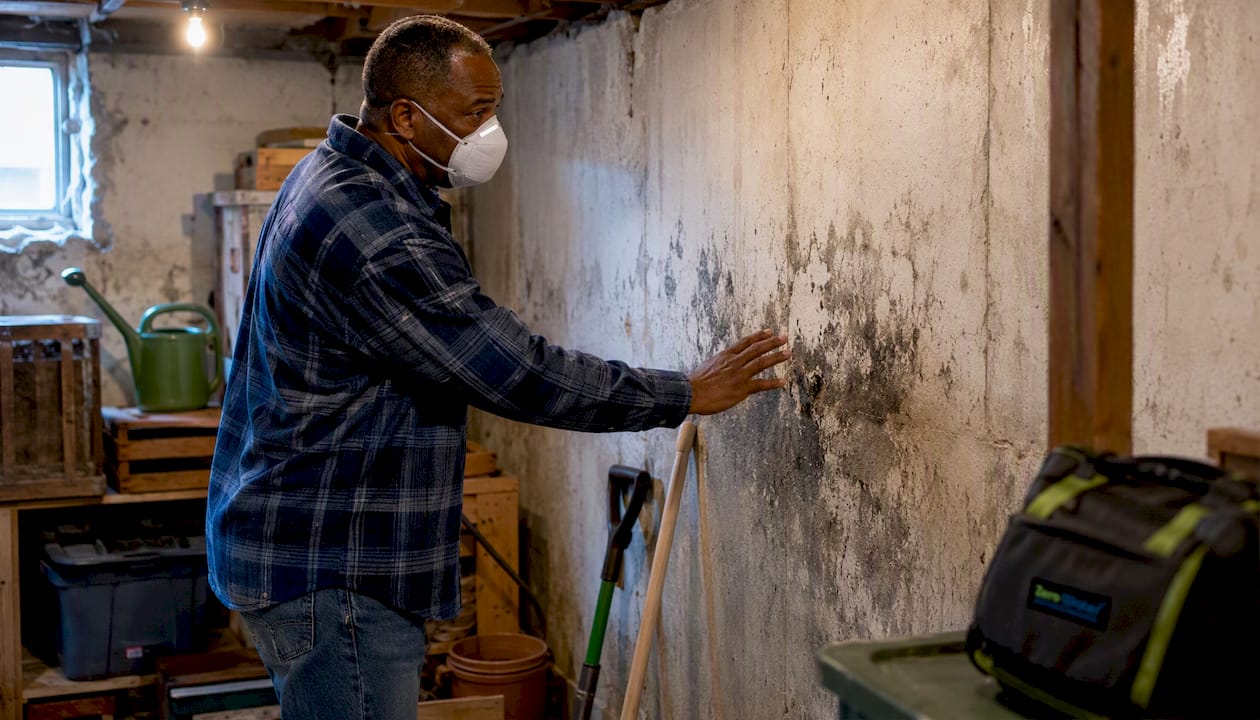
If you find fungus in your basement, your first move is to protect the people in your home, stop the moisture source, and limit how far the problem spreads. Small patches on hard surfaces can often be handled safely with DIY methods. Anything larger, anything tied to flooding, or any growth that keeps coming back after cleanup needs a professional.
Here’s what to do right now, in order:
- Move children, elderly family members, and anyone with asthma or a weakened immune system out of the basement.
- Stop any active leak or water source you can reach safely.
- Turn off the HVAC system to avoid spreading spores through ductwork.
- Close off the basement from the rest of the house as much as possible.
- Take photos of everything before touching anything.
- Run a dehumidifier if you have one, but don’t disturb the growth yet.
- If the affected area is larger than roughly 10 sq ft, or if the mold followed a flood, call a remediation contractor.
Table of Contents
- How to spot fungus in your basement before it spreads
- What basement mold can do to your health
- What you can safely clean up yourself (and what you can’t)
- When to stop DIYing and call a professional
- How to keep basement mold from coming back
- Do you actually need to test for mold?
- What to have on hand before a problem starts
- Key Takeaways
- What a decade of water damage work teaches you about basement mold
- Zerowaterrestoration is ready when the basement can’t wait
- Authoritative sources and further reading
How to spot fungus in your basement before it spreads
The most reliable early sign isn’t what you see. It’s what you smell. A persistent musty or earthy odor in a basement, even with no visible growth, usually means mold is already growing somewhere nearby.
When you do see it, basement mold typically appears as fuzzy or powdery patches in black, green, gray, or white. Paint that’s bubbling or peeling, water stains with a dark ring, or drywall that feels soft to the touch are all signs of a moisture problem that may already have mold behind it. One thing worth knowing: mold color doesn’t indicate danger level. Treat any visible growth as a problem that needs fixing, regardless of what color it is.
Common hiding spots in basements:
- Behind drywall and inside wall cavities, especially near exterior walls
- Under carpeting and carpet padding
- Around sump pump pits and floor drains
- Behind stored boxes and furniture pushed against walls
- Inside HVAC components, ductwork, and around condensate lines
- Above drop ceiling tiles
- On the back side of insulation batts
Hidden mold is common when a basement smells musty but nothing is visible. If you’ve had a past water event and the smell persists, assume growth is present somewhere until proven otherwise.
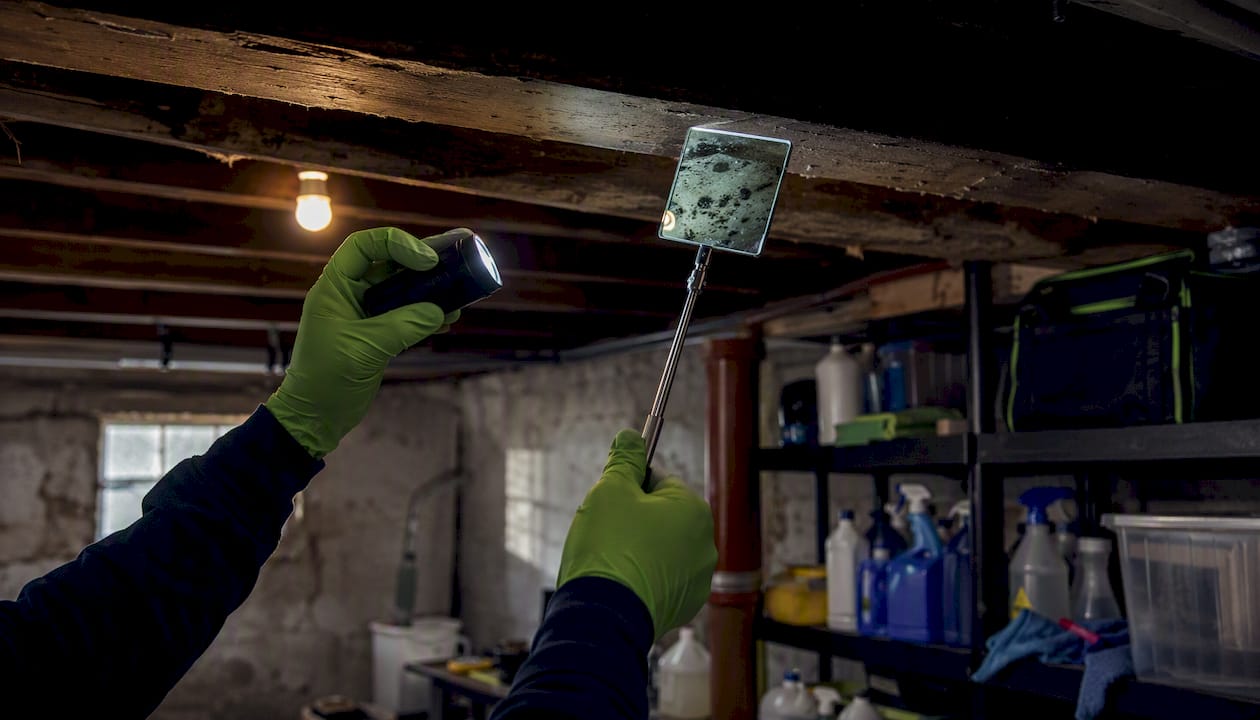
Pro Tip: Before inspecting, put on an N95 mask and keep the HVAC off. Use a flashlight and a mirror to check behind pipes and inside cavities without disturbing surfaces. Minimal disturbance means fewer spores in the air.
What basement mold can do to your health
Exposure to indoor mold causes real health problems, and the effects show up faster in some people than others. For most healthy adults, the symptoms look like a persistent cold: stuffy nose, coughing, wheezing, itchy eyes, and skin irritation. These tend to improve when the person leaves the affected space, which is itself a diagnostic clue.
“The Institute of Medicine found sufficient evidence to link indoor mold exposure to upper respiratory tract symptoms, cough, and wheeze in otherwise healthy people.” — CDC
People with asthma, allergies, or compromised immune systems face more serious risks, including hypersensitivity pneumonitis, a lung inflammation that can look like the flu but won’t respond to antibiotics. The CDC notes this condition has been documented in water-damaged buildings with roof leaks, plumbing leaks, or high indoor humidity. Children and the elderly are also more vulnerable than healthy adults.
There is no federal standard for a “safe” indoor mold level. If anyone in your household has unexplained respiratory symptoms that improve when they leave the house, document the exposures and see a physician. Bring photos of the growth and a record of how long the symptoms have been present.
What you can safely clean up yourself (and what you can’t)
The EPA’s practical threshold is roughly 10 square feet. A patch smaller than that on a hard, non-porous surface is generally appropriate for careful DIY cleanup. Larger areas, anything that followed flooding, HVAC contamination, or growth inside wall cavities all require a professional.
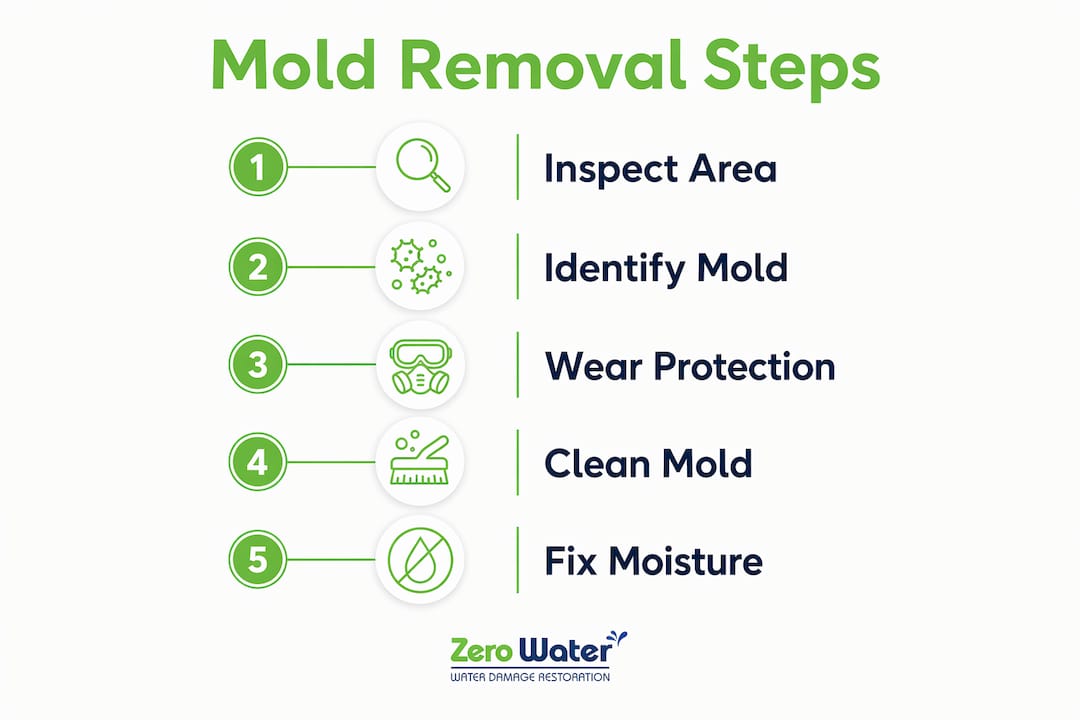
Step-by-step DIY cleanup sequence:
- Seal off the work area with plastic sheeting and tape over vents.
- Open a window for ventilation and point a fan to exhaust air outside, not into the house.
- Put on your PPE before entering: N95 or P100 respirator, nitrile gloves, and safety glasses or goggles.
- Bag and remove any porous materials with heavy contamination (carpet, drywall, ceiling tiles) in sealed plastic bags.
- Scrub hard surfaces with a detergent-and-water solution, then rinse and dry thoroughly.
- Dispose of all contaminated materials and PPE in sealed bags in the outdoor trash.
- Dry the area completely. Wet materials dried within 24–48 hours after a water event will not grow mold in most cases.
What to avoid:
- Bleach on porous surfaces: it doesn’t penetrate, and it can drive moisture deeper into the material. Dead mold spores remain allergenic, so killing without removing still leaves a problem.
- Mixing bleach with ammonia-based cleaners: the fumes are toxic.
- Running the HVAC during or after cleanup until the area is fully dry and cleared.
- Skipping PPE because the patch looks small.
Take photos before, during, and after. If you end up calling a contractor or filing an insurance claim, that documentation matters. For a deeper walkthrough of the mold remediation process, Zerowaterrestoration’s homeowner guide covers the full sequence.
When to stop DIYing and call a professional
Some situations are simply beyond what a homeowner should handle alone. Call a remediation contractor when:
- The affected area is larger than roughly 10 square feet
- The mold followed a flood, sewage backup, or major water intrusion
- You can smell mold but can’t find visible growth
- Growth has returned after a previous cleanup
- Structural materials (framing, subfloor, OSB) are saturated or visibly affected
- HVAC components are involved
- Anyone in the household is immunocompromised, has asthma, or is an infant or elderly
What professional remediation actually involves:
- Physical containment of the work area with plastic barriers and negative air pressure to prevent spore spread
- HEPA filtration and vacuuming to capture airborne particles
- Safe removal of contaminated porous materials
- Professional-grade drying and dehumidification equipment
- Antimicrobial treatment of affected surfaces
- Reconstruction of removed materials when needed
- Documentation for insurance purposes
Timeline and cost depend on the size of the affected area, whether demolition is needed, how accessible the growth is, and whether insurance is involved. A job limited to a small section of drywall looks very different from one that involves saturated framing and subfloor replacement.
When evaluating contractors, ask about their containment methods, whether they carry liability insurance, how they handle insurance documentation, and whether they provide a written scope of work before starting. Homeowners insurance typically covers mold only when it results from a sudden covered peril, like a burst pipe, and policies vary significantly by state. Check your declarations page for mold sublimits or exclusions before you need to file. Zerowaterrestoration’s team works directly with insurance adjusters and can help manage that process from the start. Their mold remediation services page outlines what’s included.
How to keep basement mold from coming back
Moisture control is the only reliable prevention strategy. Mold cannot grow without water, so every prevention measure comes back to keeping the basement dry.
Prioritized checklist:
- Fix any active leaks in the foundation, walls, or plumbing first. Nothing else matters until the water source is gone.
- Grade soil away from the foundation so surface water drains away from the house, not toward it.
- Clean gutters and extend downspouts at least 6 feet from the foundation.
- Install or maintain a sump pump with a battery backup for power outages.
- Run a dehumidifier sized for your basement’s square footage and keep humidity in the 30–50% RH range. The EPA flags anything above 60% as a condensation and mold risk.
- Increase ventilation where possible: exhaust fans, window wells, or mechanical ventilation.
- Replace mold-prone materials (carpet, paper-faced drywall) with mold-resistant alternatives in chronically damp areas.
- Place a hygrometer in the basement and check it weekly. A $15–$25 digital hygrometer gives you a running picture of conditions.
Humidity target: Keep basement RH between 30–50%. Above 60% and condensation becomes likely, which creates the conditions mold needs to establish itself.
Set a recurring inspection schedule, at minimum twice a year, to check behind stored items, around the sump pit, and along exterior walls. Catching a small moisture problem early is dramatically cheaper than remediating an established colony.
Do you actually need to test for mold?
Probably not, at least not as a first step. Routine air sampling is not recommended for most homes because there are no federal health-based indoor mold standards. Without a standard to compare results against, a lab report showing elevated spore counts doesn’t tell you much that a careful visual inspection and a moisture meter wouldn’t already tell you.
| Situation | Is testing useful? | Better alternative |
|---|---|---|
| Visible growth, known moisture source | No | Fix moisture, clean or remediate |
| Musty smell, no visible growth | Sometimes | Moisture meter + visual inspection |
| Post-remediation clearance | Yes | Certified industrial hygienist |
| Unexplained health symptoms | Yes | Physician + hygienist consult |
| Legal or insurance documentation | Yes | Licensed inspector with written report |
NIOSH developed the Dampness and Mold Assessment Tool specifically because visual and odor-based assessments are more actionable for most buildings than lab sampling. If you do need formal testing, hire a certified industrial hygienist who is independent from the remediation contractor. Having the same company test and remediate is a conflict of interest. For post-remediation verification, Zerowaterrestoration offers clearance documentation as part of their service.
What to have on hand before a problem starts
Getting ahead of a basement moisture problem means having the right supplies ready before you need them.
Essential items:
- N95 or P100 respirator (not a paper dust mask)
- Nitrile gloves, heavy-duty
- Safety glasses or chemical splash goggles
- Heavy-duty contractor trash bags (3 mil or thicker) for contaminated materials
- Dish soap or a phosphate-free detergent for scrubbing hard surfaces
- Spray bottle with clean water for rinsing
Monitoring and detection:
| Item | What it does | Notes |
|---|---|---|
| Digital hygrometer | Measures relative humidity | Target 30–50% RH; alert at 60%+ |
| Moisture meter | Detects moisture in walls and floors | Useful within 24–48 hours after any water event |
| Flashlight | Illuminates hidden areas | LED with high lumen output preferred |
Dehumidifier sizing: A unit rated for your basement’s square footage at the humidity level you’re dealing with. For a damp 1,000 sq ft basement, a 50-pint-per-day unit is a common starting point. Look for Energy Star certification to keep operating costs reasonable.
Documentation supplies: A phone camera works fine. Keep a notebook or a simple notes app entry with dates, observations, and any readings from your hygrometer or moisture meter. That log is useful for both insurance purposes and for tracking whether conditions are improving.
Key Takeaways
Basement mold is a moisture problem first. Fix the water source, and you’ve solved the root cause. Leave it, and cleanup alone won’t hold.
| Point | Details |
|---|---|
| Safety comes first | Remove vulnerable household members before inspecting or disturbing any growth. |
| DIY has a clear limit | EPA guidance puts the DIY threshold at roughly 10 sq ft on hard surfaces; larger areas need a pro. |
| Drying speed matters | Wet materials dried within 24–48 hours after a water event will not grow mold in most cases. |
| Humidity is the long-term lever | Keep basement RH between 30–50%; above 60% creates active mold risk. |
| Zerowaterrestoration is available 24/7 | For Chicagoland homeowners facing mold or water damage, Zerowaterrestoration handles remediation, drying, and insurance coordination from start to finish. |
What a decade of water damage work teaches you about basement mold
The homeowners who call us after the worst situations almost always have one thing in common: they knew something was off weeks or months earlier. A smell they couldn’t place. A corner that always seemed damp. A dehumidifier that ran constantly but never seemed to keep up. They waited, hoping it would resolve, and it didn’t.
Here’s what field experience actually changes about the advice you’ll read online. Most guides focus on the mold itself. The mold is a symptom. The real problem is almost always a drainage failure, a vapor barrier that was never installed, or a slow leak that went unnoticed behind finished walls. Treating the growth without finding the source is the single most common reason homeowners end up calling us a second time.
The 24–48 hour drying window is also more important than most homeowners realize. After a burst pipe or a basement flood, the visible water is the obvious problem. But the moisture that wicks into framing, subfloor, and insulation is what actually grows mold. Professional-grade drying equipment moves that moisture out before it can establish. A household fan and a consumer dehumidifier often can’t keep pace with what’s inside the structure.
Bleach is the other persistent myth. It works on tile grout. It does not work on drywall, wood framing, or concrete block, because it can’t penetrate the surface where the mold is actually rooted. Physical removal of contaminated porous materials is the only reliable answer for those substrates.
The advice here reflects what we’ve seen work over more than 10 years of water damage and mold remediation work in the northwest Chicago suburbs. The goal is always the same: get the moisture out fast, remove what can’t be saved, and make sure the conditions that caused the problem are gone before the work is done.
Zerowaterrestoration is ready when the basement can’t wait
When basement mold is beyond a small DIY patch, or when a water event has already happened, fast professional response is what separates a contained problem from a structural one.
Zerowaterrestoration serves Schaumburg, Arlington Heights, Palatine, Barrington, Lake Zurich, Streamwood, and the surrounding northwest Chicago suburbs with 24/7 emergency response. The team handles the full scope: water extraction, structural drying, mold containment and removal, antimicrobial treatment, reconstruction, and direct insurance coordination so you’re not managing adjusters on top of managing damage. Over 10 years of local work means the crew knows what Chicago-area basements look like after a hard winter or a heavy rain event, and they know how to get them back to livable fast.
Take photos before anyone touches anything, then call (847) 515-7000 or visit zerowaterrestoration.com/mold-remediation for a free inspection and estimate. If you’re in the Barrington or Lake Zurich area, local service is available now.
This article provides general information for homeowners and is not a substitute for professional inspection or advice specific to your property and situation. Confirm current guidance with the EPA, CDC, or a qualified remediation contractor for your own circumstances.
Authoritative sources and further reading
The following sources were used throughout this article and are worth bookmarking for further reference:
- EPA Mold Guidance — The EPA’s main mold resource, covering moisture control, cleanup best practices, and when to hire a professional. The starting point for any homeowner researching indoor mold.
- EPA Brief Guide to Mold, Moisture, and Your Home — Covers the 10 sq ft DIY threshold, the 24–48 hour drying window, humidity targets, and why bleach fails on porous surfaces.
- CDC Mold and Health — Summarizes the Institute of Medicine findings on mold exposure and respiratory health, including who is most vulnerable.
- CDC/NIOSH Mold Testing and Remediation — Explains why routine air sampling is often unnecessary and describes the Dampness and Mold Assessment Tool for practical building evaluation.
- CNBC: How Homeowners Insurance Covers Mold Damage — Explains coverage variability, common exclusions, and sublimits. Check your declarations page before a water event, not after.
- Zerowaterrestoration Mold Remediation Services — Local professional remediation services for Chicagoland homeowners, including containment, removal, drying, and insurance coordination.
- How restoration companies work with your insurer — Explains how a restoration contractor manages insurance documentation and adjuster communication on your behalf.
A note on insurance: Policy language on mold varies significantly by state and insurer. Review your declarations page for mold-specific sublimits or exclusions, and document all damage with photos and written notes before any cleanup begins. If you’re filing a claim, a restoration contractor experienced in insurance coordination can make a real difference in the outcome.