
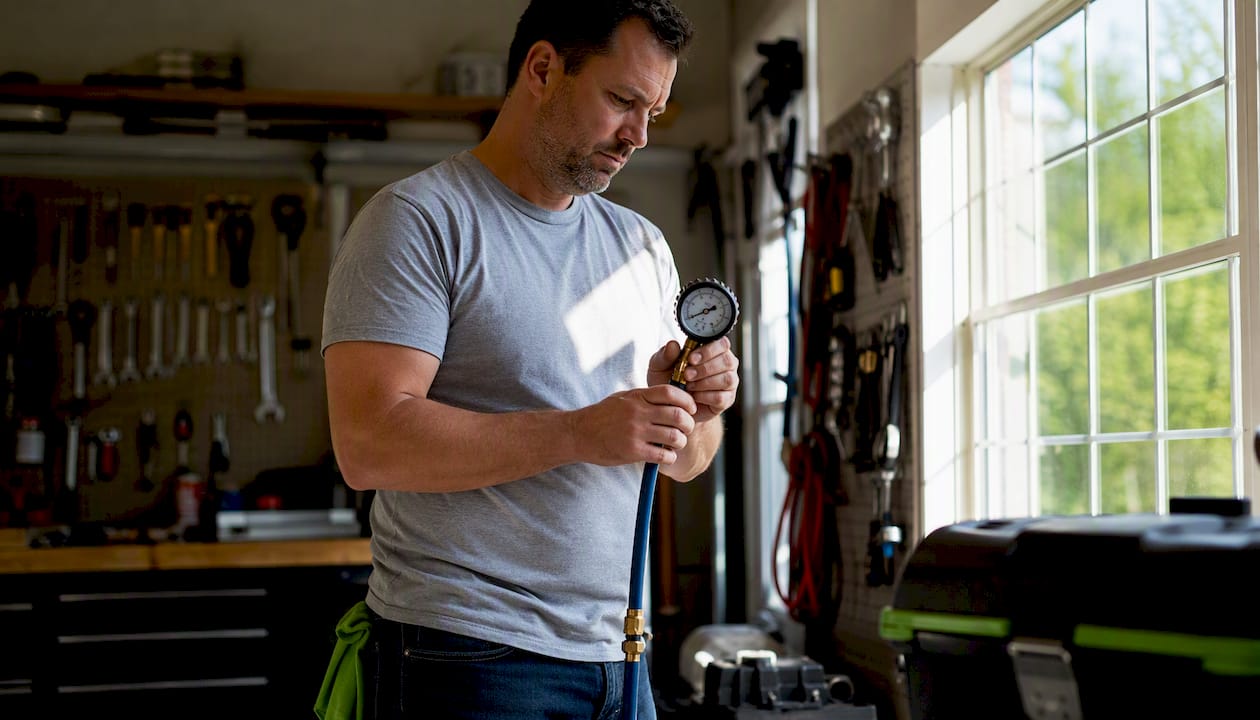
High water pressure is one of the most common and least-diagnosed causes of plumbing failures in American homes. The short answer: yes, excessive pressure damages your pipes, fittings, and appliances over time, and it can trigger sudden catastrophic failures during pressure spikes. EPA WaterSense guidance recommends keeping service pressure between 45 and 60 psi to protect fixtures and reduce leak risk. If you’re seeing active flooding right now, skip to the bottom of this checklist and call for help immediately.
If you suspect pressure damage or see active water:
- Shut the main water supply valve (usually near the water meter or where the line enters the house)
- Turn off electricity in any flooded area at the breaker panel
- Stop all appliances drawing water (dishwasher, washing machine)
- Document visible damage with photos before touching anything
- Call a licensed plumber if there’s no active flooding; call a restoration contractor and a plumber if water is spreading through walls, floors, or ceilings
- Contact your insurance provider to open a claim
The benchmark to remember: Most plumbing codes require a pressure-reducing valve (PRV) when service pressure exceeds 80 psi. Sustained pressure above that level shortens the life of nearly every pressure-bearing component in your home.
Table of Contents
- Why does water pressure cause pipe failures?
- What PSI is safe, and when does pressure become dangerous?
- What are the signs that high pressure is harming your plumbing?
- Which pipes and fixtures fail first under high pressure?
- How do water hammer and pressure spikes cause long-term harm?
- How to test your home’s water pressure yourself
- How to reduce high pressure and prevent future failures
- When should you call a plumber versus a restoration contractor?
- What a restoration pro actually does after a pipe failure
- Key Takeaways
- The pressure problem most homeowners never see coming
- Zerowaterrestoration is ready when pressure damage becomes a water emergency
- Authoritative sources and further reading
Why does water pressure cause pipe failures?
The physics are straightforward, even if the damage isn’t always visible. Every pipe, joint, and fitting in your home is rated for a pressure range. When water pushes against those surfaces continuously at elevated force, it creates mechanical stress that accumulates the same way metal fatigue does in a bridge. The pipe doesn’t fail the first day. It fails after months or years of stress cycling, and usually at the worst possible moment.
High water pressure creates chronic mechanical stress that leads to fatigue at pipe joints, accelerated wall thinning through erosion-corrosion, and premature failure of seals and appliance valves. The damage often accumulates silently and first appears as a pinhole leak or a sudden rupture during a pressure spike.
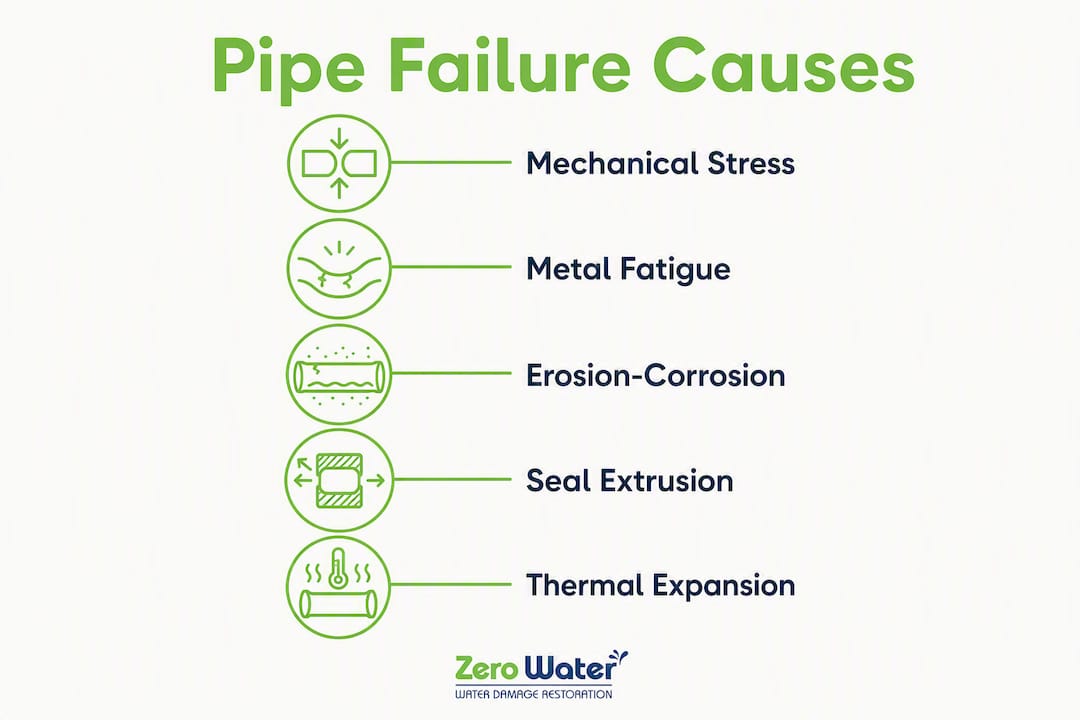
Several distinct failure modes are at work:
Metal fatigue builds at elbows, tees, and threaded joints where stress concentrates. Each pressure cycle (every time a valve opens or closes) flexes the pipe slightly. Over thousands of cycles, micro-cracks form.
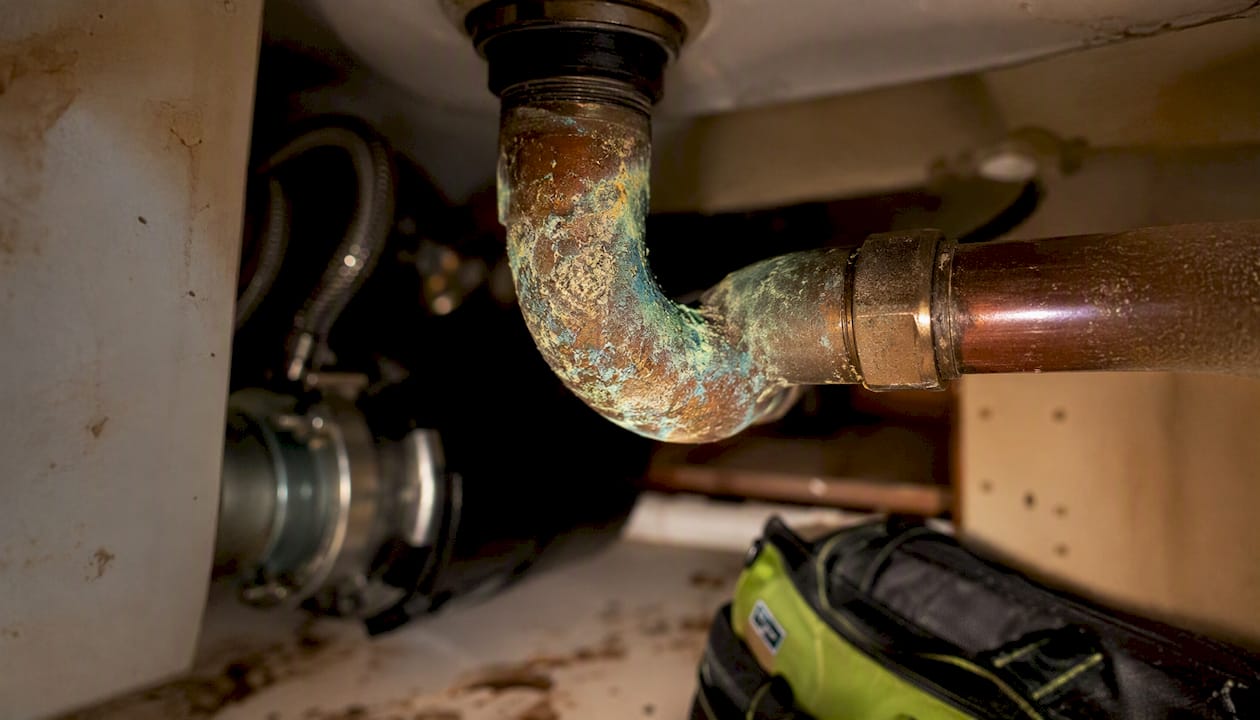
Erosion-corrosion happens when fast-moving, high-pressure water strips the protective oxide layer inside copper and steel pipes. The pipe wall thins from the inside out, invisible until a pinhole appears.
Seal and gasket extrusion occurs when sustained pressure pushes rubber seals past their design limits. Faucet cartridges, toilet fill valves, and washing machine inlet valves are particularly prone to this.
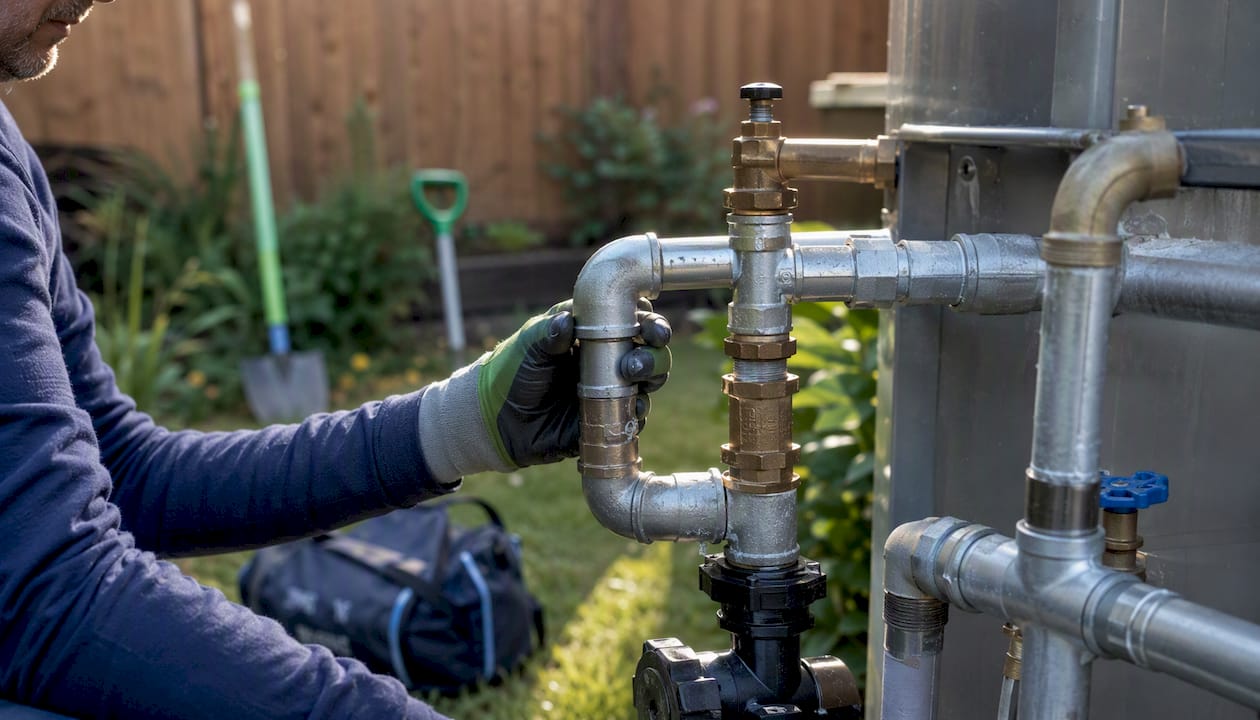
Thermal expansion in closed systems is a less obvious mechanism. When a PRV is installed without a thermal expansion tank, the system becomes closed. Water heated by your water heater expands with nowhere to go, spiking pressure during recovery cycles and stressing every fitting in the loop.
Pro Tip: If you’ve replaced a faucet cartridge or toilet fill valve more than once in two years, don’t blame the parts. Test your water pressure first. Repeated component failure is one of the clearest signals that chronic high pressure is the real problem.
What PSI is safe, and when does pressure become dangerous?
Pressure is measured in pounds per square inch (PSI). Static pressure is what you read when no water is running. Working (dynamic) pressure is what flows through the system during use, and it’s always somewhat lower. The static reading is what matters for code compliance and long-term damage assessment.
| PSI Range | Classification | What It Means for Your Plumbing |
|---|---|---|
| — | Low | Weak flow; showers and appliances may underperform |
| 45–60 psi | Recommended | EPA WaterSense optimal range; efficient fixtures, minimal leak risk |
| — | Elevated | Accelerated wear on seals, cartridges, and appliance valves |
| Above 80 psi | Code threshold | Most plumbing codes require a PRV at this level; sustained exposure shortens component life significantly |
| — | Danger zone | High risk of acute failure; flexible hoses and appliance connections are at immediate risk |
Quick stat: The EPA WaterSense program targets 45–60 psi as the service pressure sweet spot. At 80 psi and above, the International Residential Code (IRC) triggers a mandatory PRV requirement.
Static pressure matters more than most homeowners realize because it’s the baseline load your pipes carry 24 hours a day, even when no water is running. Dynamic spikes during valve closures are layered on top of that baseline, which is why a system already running at 85 psi is far more vulnerable to water hammer damage than one running at 55 psi.
What are the signs that high pressure is harming your plumbing?
Most homeowners notice the symptoms long before they connect them to pressure. Common indicators of high pressure include:
- Water hammer: Banging or thudding sounds when a faucet closes or an appliance shuts off. This is hydraulic shock, and it’s an immediate red flag.
- Faucets that drip despite new washers: If a cartridge you just replaced is already leaking, pressure is likely extruding the seal past its rated limit.
- Constantly running toilets: High pressure forces fill valves open or damages the diaphragm, so the tank never fully seals.
- Premature appliance failures: Dishwashers, washing machines, and refrigerator ice makers have inlet valves rated for specific pressure ranges. Exceeding those ratings shortens their service life.
- Unusually high water bills: Elevated pressure increases flow rate through every fixture, even when usage habits haven’t changed.
- Recurring T&P valve drips on the water heater: The temperature and pressure relief valve is discharging because system pressure is spiking during heating cycles, often a sign of a closed system without an expansion tank.
High static pressure frequently presents as failing fill valves, leaking faucet cartridges, washing machine hose blowouts, and premature T&P relief discharges — symptoms that homeowners interpret as product failure rather than a pressure problem.
Water hammer deserves special attention. It’s not just annoying. Each bang represents a pressure wave traveling through your pipes at high speed, and those waves concentrate at fittings and elbows already stressed by chronic high pressure.
Which pipes and fixtures fail first under high pressure?
Not all plumbing components handle elevated pressure equally. Knowing which ones to inspect first saves time and prevents the worst failures.
Highest-risk components:
- Flexible braided hoses under sinks and behind toilets. These are rated for specific pressure limits, and they’re often the first to blow out.
- Washing machine inlet hoses. A burst washing machine hose is one of the most common sources of major residential water damage.
- Refrigerator ice-maker lines. Thin plastic tubing running behind the fridge is particularly vulnerable to pressure spikes.
- Faucet cartridges and ceramic disc valves. Designed for 60–80 psi; above that, seal extrusion accelerates.
- Older galvanized steel pipe. Corrosion and wall thinning make it far less tolerant of pressure stress than copper or PEX.
- Copper at elbows and tees. Stress concentrates at direction changes, especially in systems with water hammer.
- Rubber gaskets and hose bibb connections. Irrigation connections and external hose bibbs show pressure problems early, often as misting or spray pattern distortion.
Pro Tip: Do a visual sweep of every flexible hose under your sinks and behind your toilets once a year. Look for bulging, discoloration, or mineral deposits at the connection points. Replace any hose older than five years regardless of how it looks.
When inspecting copper, look for green or white mineral deposits on the outside of the pipe. Those deposits often indicate a slow weep at a joint or fitting, which means the pipe wall has already been compromised. Behind walls, the first sign is usually a soft spot in drywall or a musty smell from mold beginning to grow on wet framing.
Worth knowing: Washing machine hose failures are among the most expensive residential water damage claims. A burst hose can discharge hundreds of gallons before anyone notices.
How do water hammer and pressure spikes cause long-term harm?
Static high pressure is a slow killer. Water hammer is the acute event that finishes the job. Hydraulic shock from water hammer can reach 2–3 times the static line pressure, and it’s a common trigger for catastrophic failures in fittings already weakened by chronic pressure.
Here’s a concrete scenario: your home runs at 85 psi static. A washing machine solenoid valve snaps shut at the end of a fill cycle. The moving water column has nowhere to go and slams into the closed valve, generating a pressure spike of 170–255 psi for a fraction of a second. That spike travels back through the supply line, hits a copper elbow that’s been slowly fatiguing for three years, and creates a hairline crack. Two weeks later, that crack opens into a leak inside the wall.
To reduce water hammer and pressure spikes:
- Install water hammer arrestors at washing machines, dishwashers, and any quick-closing solenoid valve. These are inexpensive and screw onto the supply line.
- Check pipe straps and hangers. Loose pipes amplify the shock wave by vibrating freely.
- Replace any quick-closing ball valves on appliance supplies with slower-closing quarter-turn valves where possible.
- Address the root cause: if static pressure is above 80 psi, a PRV is the only permanent fix for both chronic stress and spike severity.
Pro Tip: Hammer arrestors are rated by fixture unit load. Buy one sized for the appliance, not the smallest one on the shelf. An undersized arrestor dampens the shock partially but won’t eliminate it.
How to test your home’s water pressure yourself
Testing static pressure takes about five minutes and costs under $15 for a basic gauge. Here’s the process:
- Buy a hose-bib pressure gauge at any hardware store. It threads onto a standard outdoor spigot or the cold-water inlet on your washing machine.
- Shut off all water-using fixtures and appliances inside the house. No dishwasher, no ice maker, no running toilets.
- Thread the gauge onto the hose bib and open the valve fully.
- Read the static pressure. Take the reading in the morning before anyone has used water, when pressure is typically at its highest.
- Run a leak check: note the pressure reading, leave everything shut for one hour, and read again. A drop of more than 3 PSI over an hour suggests an active hidden leak requiring professional inspection.
For a more complete picture, a licensed plumber uses a calibrated manometer, clamp-style gauges at multiple points in the system, and isolation valves to identify where pressure drops occur. That’s worth doing if your DIY reading is above 80 psi or if the leak test shows a significant drop.
Stat to know: A pressure drop of more than 3 PSI in a closed, static system over one hour is a reliable indicator of a hidden leak, per Grundfos testing guidance.
Pro Tip: Test at the hose bib closest to where the main supply enters the house. That gives you the highest reading in the system, which is the one that matters for code compliance and damage risk.
How to reduce high pressure and prevent future failures
Once you know your pressure is elevated, here’s how to address it, from quick fixes to permanent solutions.
Short-term steps you can do today:
- Replace any flexible hose older than five years under sinks, behind toilets, and at appliances.
- Install hose-bib pressure-limiting devices on outdoor spigots and irrigation connections.
- Add water hammer arrestors at the washing machine and dishwasher supply lines.
Medium-term fixes (licensed plumber required):
- Adjust an existing PRV if one is already installed. Many PRVs have a set screw that allows pressure adjustment without replacement.
- Replace a failed or aging PRV. A PRV installation typically runs a few hundred dollars in parts and labor, depending on location and access.
- Install a thermal expansion tank if a PRV is present but no expansion tank exists. Installing a PRV without an expansion tank creates a closed system where thermal expansion during water-heater recovery cycles spikes pressure and triggers T&P discharges. IRC section P2903.3.1 addresses this requirement.
Long-term solutions:
- Re-pipe aging galvanized steel distribution lines with copper or PEX. This is a significant investment but eliminates the corrosion and wall-thinning risk entirely.
- Add whole-house pressure monitoring if the supply pressure fluctuates significantly throughout the day.
Pro Tip: A PRV must meet ASSE 1003 listing standards and be installed in an accessible location. If a plumber quotes you a PRV without mentioning an expansion tank, ask about it directly. Skipping the expansion tank is a common callback cause.
For a broader look at protecting your home against water damage, the prevention steps above pair well with regular inspection routines.
When should you call a plumber versus a restoration contractor?
The answer depends on whether water is actively spreading.
Call a licensed plumber when:
- Your static pressure tests above 80 psi with no active leak
- You have water hammer but no visible damage
- A PRV needs adjustment, replacement, or an expansion tank needs to be added
- A faucet, toilet, or appliance is failing repeatedly and you suspect pressure is the cause
Call a restoration contractor (and a plumber) when:
- A pipe has burst and water is spreading through walls, floors, or ceilings
- You see soaked drywall, buckled flooring, or water staining on ceilings
- Standing water is present anywhere in the home
- You smell mold or see discoloration on walls after a recent leak
Immediate steps while you wait for help:
- Shut the main supply valve
- Cut electricity to any flooded area at the breaker panel
- Move valuables and electronics out of the affected area
- Photograph all visible damage before any cleanup begins
- Call your insurance provider to open a claim and get a claim number
Cost context: A PRV installation typically costs a few hundred dollars. An expansion tank adds a modest amount to that. A full water damage restoration after a burst pipe, including drying, mold remediation, and reconstruction, can run into the thousands depending on how long the water was present and how far it spread.
When you call for help, have your PSI reading ready, a description of visible damage, and a list of affected appliances. That information helps dispatch prioritize and bring the right equipment. For guidance on what to do when a pipe bursts, the response steps matter as much as the repair itself.
What a restoration pro actually does after a pipe failure
When a restoration crew arrives after a burst pipe or major pressure-related failure, the work follows a defined sequence. Knowing what to expect helps you evaluate whether a contractor is doing the job correctly.
The emergency workflow:
- Stop the source. If the plumber hasn’t already shut the supply, the crew confirms the water is off before anything else.
- Extract standing water. Truck-mounted or portable extraction units remove water from floors, carpets, and subfloor cavities. Understanding what water extraction equipment does helps you ask the right questions when a crew arrives.
- Document conditions. Moisture meters, thermal imaging cameras, and written documentation establish the scope of damage for the insurance claim.
- Set drying equipment. Industrial dehumidifiers and air movers run continuously, typically for three to five days, until moisture readings return to baseline.
- Monitor daily. A technician checks moisture readings each day and adjusts equipment placement as drying progresses.
- Coordinate with insurance. The restoration contractor communicates directly with the adjuster, submits documentation, and manages the scope of work to keep out-of-pocket costs as low as possible.
- Mold prevention and remediation. If moisture was present for more than 24–48 hours, mold prevention steps become part of the scope. The unknown risks of water damage escalate quickly when drying is delayed.
What to have ready when you call dispatch:
- Address and best contact number
- Location of the main shutoff (if it’s been turned off, say so)
- Description of visible damage (which rooms, what materials are wet)
- Whether electricity has been cut to the affected area
- Your insurance carrier and policy number
Timeline note: Water damage that is extracted and dried within 24–48 hours has a significantly lower chance of developing mold than damage left standing for 72 hours or more. Speed matters more than almost anything else in restoration.
Key Takeaways
High water pressure is a slow, cumulative threat that causes pipe failures through metal fatigue, seal extrusion, and erosion-corrosion, and it becomes acutely dangerous when pressure spikes from water hammer hit fittings already weakened by chronic stress.
| Point | Details |
|---|---|
| Safe PSI range | Keep service pressure between 45–60 psi; above 80 psi triggers code-required PRV installation. |
| PRV plus expansion tank | Installing a PRV without an expansion tank creates a closed system that causes T&P discharges and pressure spikes during water-heater cycles. |
| Water hammer is urgent | Hydraulic shock can reach 2–3 times static pressure; treat banging pipes immediately with arrestors and a pressure check. |
| DIY pressure test | Attach a gauge to a hose bib, shut all fixtures, and check for a drop of more than 3 PSI over one hour, which indicates a hidden leak. |
| Zerowaterrestoration | For active flooding or burst pipe damage, contact emergency water damage restoration services immediately. |
The pressure problem most homeowners never see coming
Here’s the part that doesn’t get enough attention: most pressure-related failures give you months of warning, and almost nobody acts on it.
A homeowner replaces a toilet fill valve. Six months later, they replace it again. Then a faucet cartridge goes. Then the washing machine starts making a banging sound at the end of the fill cycle. Each of these gets treated as a separate, unrelated product failure. A plumber is called for the faucet. A handyman swaps the fill valve. Nobody tests the pressure.
Then the washing machine hose blows on a Tuesday morning while the family is at work. By the time someone gets home, there’s standing water in the laundry room, the subfloor is saturated, and the drywall on the adjacent wall is soft. What would have cost a few hundred dollars to fix with a PRV and an expansion tank is now a multi-thousand-dollar restoration claim.
The conventional wisdom is that plumbing fails because pipes get old. That’s true, but it’s incomplete. Old pipes fail faster under high pressure. New pipes fail prematurely under high pressure. The pressure is the variable you can actually control, and a $15 gauge and one morning of testing tells you whether you have a problem. That’s a remarkably low bar for preventing one of the most common and expensive home insurance claims in the country.
If your home is more than 15 years old and you’ve never tested your water pressure, do it this week. If the reading is above 80 psi, call a plumber before the next appliance fails.
Zerowaterrestoration is ready when pressure damage becomes a water emergency
When a pipe fails and water is already spreading, the clock starts immediately. Zerowaterrestoration is a locally owned restoration company serving Schaumburg, Arlington Heights, Palatine, Barrington, Lake Zurich, Streamwood, and the surrounding northwest Chicago suburbs, available 24 hours a day, seven days a week for exactly this situation.
The team handles the full scope from the moment they arrive: water extraction, structural drying, dehumidification, mold remediation, and complete reconstruction. They also work directly with your insurance adjuster, managing documentation and communication so you’re not navigating the claim process alone while dealing with a damaged home.
If you have standing water or a burst pipe right now, call (847) 515-7000 or visit the water damage restoration page to request an emergency response. For Illinois homeowners who want to understand the full restoration process before a crisis hits, that page walks through every step from extraction to rebuild.
Authoritative sources and further reading
The claims in this article are grounded in primary and industry sources. These are the most useful references for verifying PSI thresholds, code requirements, and testing methods:
- EPA WaterSense Service Water Pressure Technical Sheet — Primary source for the 45–60 psi recommended range and the PRV requirement at 80 psi. Also covers the closed-system thermal expansion issue when a PRV is installed without an expansion tank.
- Building America Solution Center — Service Water Pressure (PNNL) — Department of Energy resource explaining how sustained high pressure shortens the life of pressure-bearing components and when professional intervention is warranted.
- Grundfos — How to Check Water Pressure — Step-by-step DIY gauge testing method and the 3 PSI leak-detection threshold used in the testing section.
- Oklahoma State University Extension — Managing Pressure in the Home Irrigation System — Practical guidance on pressure effects at hose bibbs and irrigation connections, including spray pattern distortion as an early indicator.