
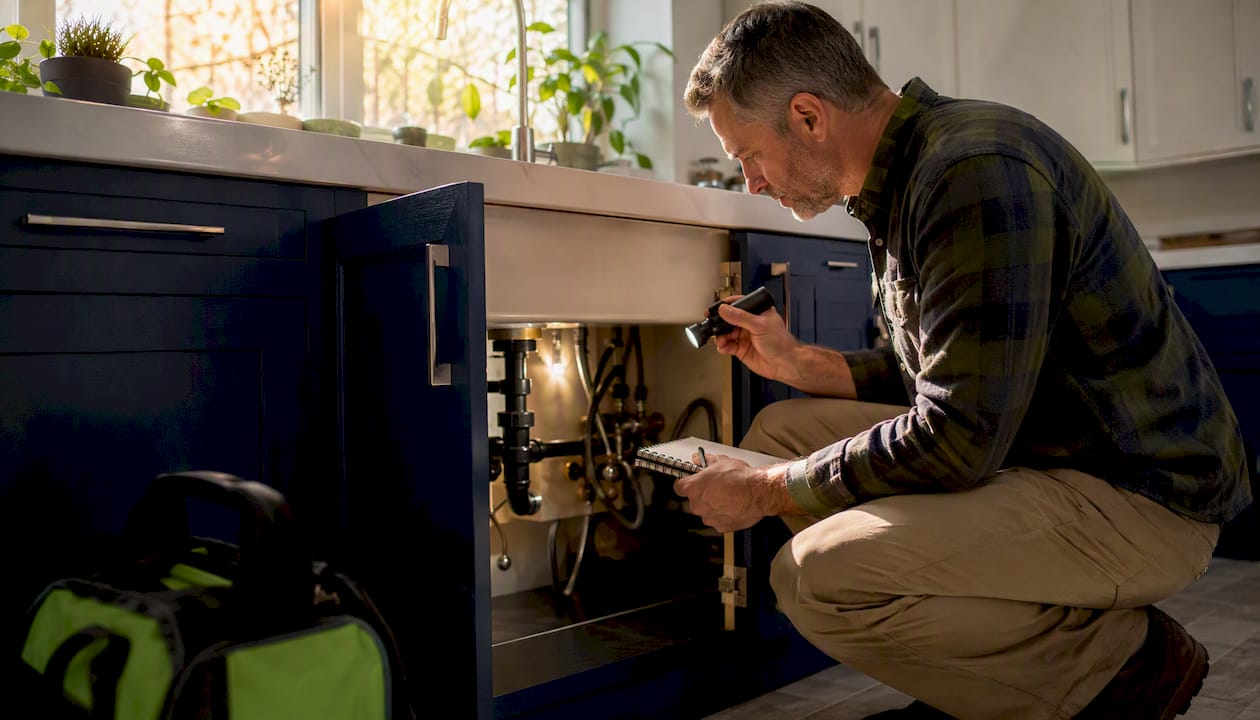
If your water meter moves with every fixture off, you hear hissing inside a wall, or you’ve lost pressure across the whole house at once, treat it as an active burst pipe and shut off the main water supply immediately.
Act Now (possible active burst):
- Water meter low-flow indicator moving with all fixtures off
- Sudden whole-house pressure drop across multiple faucets
- Audible hissing or rushing sound inside walls or floors
- Standing water with no obvious source
- Ceiling bulging or actively dripping
Check Next (signs of a developing or hidden leak):
- Unexplained spike in your water bill (a 20–40% jump month-over-month with no change in use is a red flag)
- Musty or mildew odor in rooms without obvious moisture
- Warm patches on floors, especially over a slab foundation
- Recurring mold stains in the same spot after cleaning
- Discolored, rusty, or cloudy water from taps
- Soft, warped, or stained drywall and baseboards
Your main shutoff is typically near the front foundation wall in the basement, in a utility room, or at the street-side meter box. If water is actively flowing into living spaces, shut it off first, then call emergency help.
Table of Contents
- What does a burst pipe warning signs checklist actually cover?
- Hidden signs that show up before the visible damage does
- How to use the water meter to confirm a hidden leak
- What to do immediately if you suspect a burst pipe
- Seasonal and routine maintenance to prevent burst pipes
- Why acting fast matters: damage timelines and what restoration pros do
- What does burst pipe cleanup typically cost, and how does insurance work?
- Is it a burst pipe or something else?
- Water color and quality changes as a pipe damage signal
- How to communicate with your insurance company after a burst pipe
- Key Takeaways
- What restoration pros see that most homeowners miss
- Zerowaterrestoration responds 24/7 when a burst pipe can’t wait
- Useful resources for homeowners
What does a burst pipe warning signs checklist actually cover?
A burst pipe warning signs checklist covers two categories: the signs you can see and the ones you can only detect through testing or pattern recognition. Most homeowners focus on the visible ones, which is a mistake. Hidden leaks can exist for weeks before visible signs appear, and by the time paint bubbles or a stain ring shows up, secondary damage like structural saturation or mold is often already underway.
The checklist below starts with what you can see, then moves to what you need to test for.
Visible signs to inspect right away
Check these locations first: under every sink, behind toilets, below the water heater, in the basement along supply lines, and in any bathroom that sits above a finished living space.
- Standing water or puddles with no plumbing fixture nearby
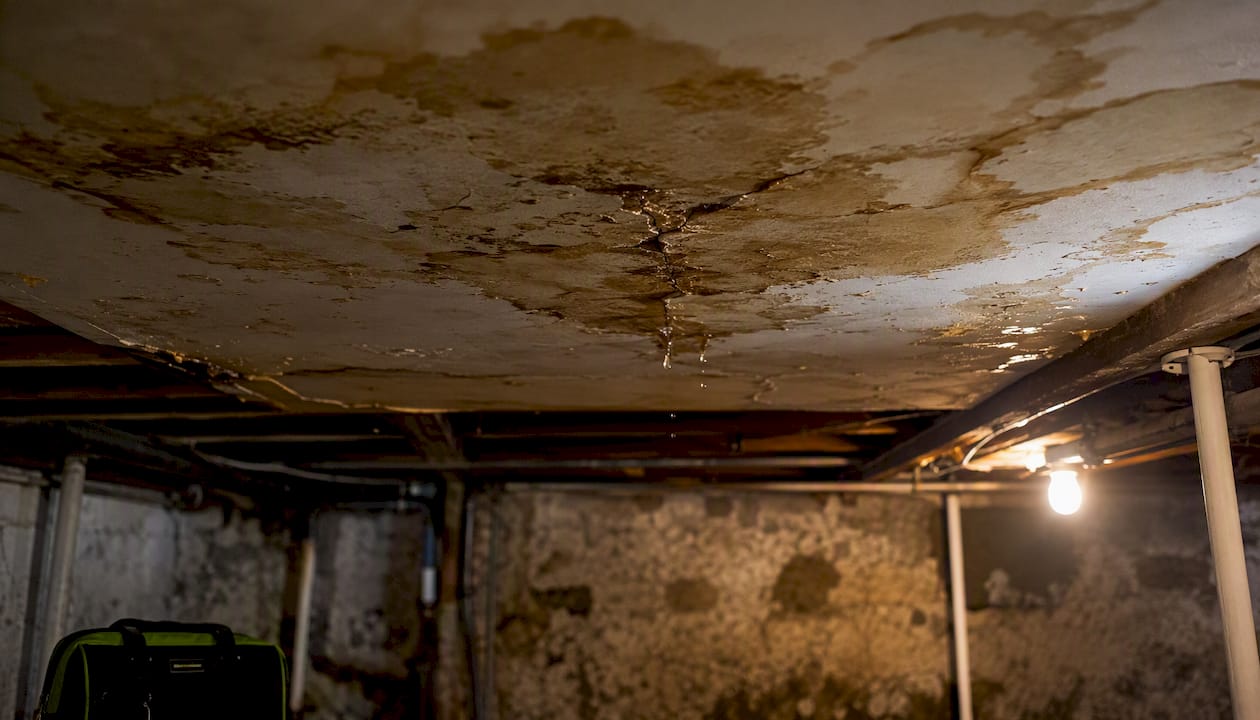
- Ceiling stains with a ring pattern (the ring grows as moisture wicks outward and dries repeatedly)
- Bulging or sagging drywall, especially on ceilings or walls adjacent to bathrooms
- Warped baseboards or buckled flooring near a bathroom, kitchen, or laundry area
- Wet carpet that stays damp after normal foot traffic or weather
The ring pattern is the key tell. A one-time spill dries flat. A plumbing leak leaves a concentric stain that expands over days because the moisture source keeps feeding it. If you see a ring that wasn’t there last week, that’s a leak, not a spill.
Hidden signs that show up before the visible damage does
Subtle signs often precede visible stains by days or weeks. Catching them early is the difference between a plumber visit and a full restoration project.
- Unexplained water bill spike: A 20–40% jump month-over-month with no change in household use points to a hidden leak.
- Running water sounds when everything is off: A faint hiss, drip, or rushing sound inside walls or under floors is worth investigating immediately.
- Slow, steady pressure loss: If pressure has dropped gradually across multiple fixtures over days, a supply line is likely losing volume somewhere.
- Musty or mildew odors: Moisture trapped inside walls or under flooring starts producing that smell within 24–48 hours of saturation.
- Recurring mold stains: Mold that keeps coming back in the same corner after cleaning has a moisture source behind the surface.
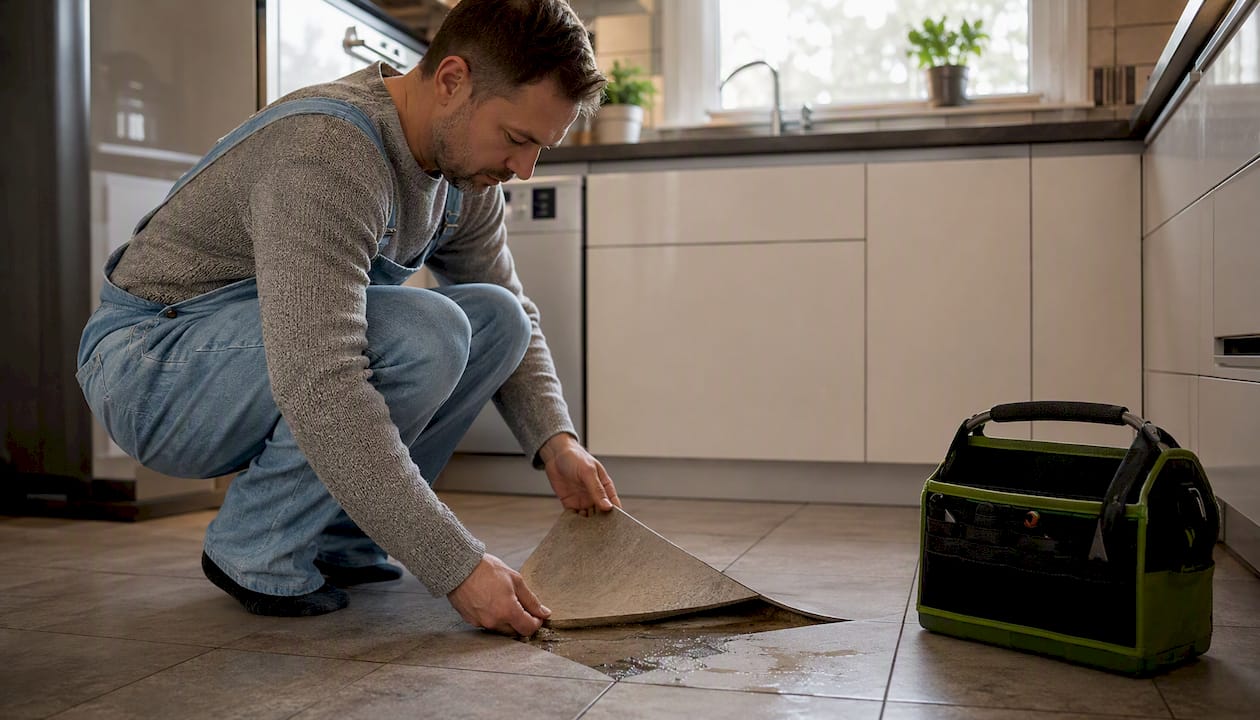
- Warm patches on floors: Over a slab foundation, a warm spot on the floor is a signature indicator of a hot-side slab leak. Don’t start pulling up tile to investigate yourself; that’s a job for thermal imaging or acoustic mapping.
Professionals report that most homeowners wait for visible signs before calling. By then, secondary damage has usually begun.
Pro Tip: Set up a billing alert through your water utility’s app or website. Most utilities now offer usage notifications. A single alert threshold at 15% above your seasonal average can catch a slow leak weeks before it becomes a stain.
How to use the water meter to confirm a hidden leak
The water meter test is the most reliable non-invasive diagnostic available to a homeowner. It takes under 10 minutes and gives you a definitive yes or no on active water loss before you open a single wall.
- Find your meter. It’s usually in a covered box near the street, or in the basement near the front wall.
- Shut off all water in the house. Every faucet, appliance, and fixture. Tell everyone in the house not to flush or run anything.
- Locate the low-flow indicator. On most meters, it’s a small triangle or dial that spins when even a tiny amount of water moves through the line.
- Watch it for two full minutes. Any movement at all means water is moving through your supply line with everything off. That’s an active leak.
- If your meter doesn’t have a low-flow indicator, note the exact reading, wait 15–30 minutes without using any water, and check again. Any change confirms a leak.
Once you’ve confirmed a leak, isolate the source before calling a plumber. Shut off the supply valve under each toilet, then re-run the meter test. Toilets are the most common source of silent indoor water loss, and a dye test in the toilet tank confirms a flapper leak in 15–60 minutes. Drop dye tablets or a few drops of food coloring into the tank (not the bowl), wait, and check the bowl for color transfer without flushing.
For appliances, shut the supply valves to the washing machine, dishwasher, and refrigerator ice maker one at a time, running the meter test after each to narrow down the source.
Pro Tip: Do the meter test before you do anything else diagnostic. It takes less time than inspecting every room and tells you immediately whether you have an active problem or a stain from an old, resolved leak.
What to do immediately if you suspect a burst pipe
Speed matters. Immediate mitigation steps reduce restoration costs and mold risk dramatically when performed within the first few hours.
- Shut off the main water supply. Don’t wait to confirm the exact location of the break.
- Turn off electricity to affected areas. If water is near outlets, panels, or appliances, flip the breaker for those zones. Do not step into standing water near electrical sources.
- Open faucets and flush toilets to drain remaining water from the lines and reduce pressure on the damaged section.
- Contain the water. Use buckets, towels, and absorbent materials to limit spread. Move rugs, furniture, and valuables out of the affected area.
- Close interior supply valves to isolate the damaged zone if you can identify it.
- Document everything before you clean up. Take photos and video of standing water, stained surfaces, damaged materials, and any visible pipe damage. Note the time and date. Record your meter reading.
- Keep receipts for any emergency purchases (towels, fans, a wet-dry vacuum) since insurers typically reimburse reasonable emergency mitigation costs.
- Call a licensed plumber to locate and repair the break, and a water damage restoration company for extraction and drying.
For guidance on stopping water damage from spreading while you wait for help, the steps are straightforward but sequence matters.
Pro Tip: Never skip the documentation step even when the damage looks minor. Insurers can and do deny claims when there’s no photographic evidence of the original damage before cleanup started.
Seasonal and routine maintenance to prevent burst pipes
Prevention is a checklist too, and it’s far cheaper than restoration.
Seasonal (fall and winter prep):
- Insulate exposed pipes in crawlspaces, attics, and garages with foam pipe insulation or heat tape
- Shut off and drain exterior hose bibs before the first freeze
- Keep your thermostat at or above 55°F even when the house is vacant
- Open cabinet doors under sinks on exterior walls during cold snaps to let warm air circulate
Year-round routine maintenance:
- Inspect supply hoses on washing machines, dishwashers, and refrigerators every six months; replace rubber hoses with braided stainless steel, which resists cracking and lasts significantly longer
- Test every shutoff valve in the house annually by turning it off and back on; valves that haven’t moved in years can seize and fail when you need them most
- Monitor water pressure with an inexpensive gauge from any hardware store; residential supply pressure should stay between 40–80 PSI, and anything above 80 PSI warrants a pressure regulator
- Check the water heater’s supply lines and the pressure relief valve annually
When to replace pipes proactively:
Galvanized steel pipes older than 40–50 years, copper lines showing pinhole leaks or green corrosion, and any pipe that has been repaired more than twice in the same section are candidates for replacement rather than another patch. On slab foundations, repeated warm-floor incidents or unexplained pressure loss in a single zone are strong indicators that a supply line under the slab is failing.
For a complete prevention routine, water damage prevention best practices covers the full annual checklist in detail.
Why acting fast matters: damage timelines and what restoration pros do
Roughly 1 in 15 insured homes will file a non-weather-related water damage claim within a five-year period, and water damage has outpaced fire and theft as a leading source of insurance losses. The reason is simple: water moves fast and hides well.
| Timeframe | What’s happening |
|---|---|
| — | Active flooding; flooring, drywall, and insulation begin absorbing water |
| 2–24 hours | Drywall swells and warps; wood subfloor begins to buckle; odor develops |
| 24 hours | Mold spores begin colonizing saturated materials; structural saturation deepens |
| 3–7 days | Mold visible; wood rot begins; structural integrity of framing at risk |
| 1+ weeks | Widespread mold; potential structural failure; remediation costs multiply |
When a restoration crew arrives, here’s what they actually do:
- Emergency water extraction using truck-mounted or portable extractors to remove standing water
- Moisture mapping with thermal cameras and moisture meters to find water that has migrated behind walls and under floors
- Industrial drying and dehumidification using high-capacity air movers and dehumidifiers calibrated to the affected square footage
- Containment to prevent cross-contamination to unaffected areas
- Mold prevention treatments applied to at-risk surfaces during the drying phase
- Insurance documentation including moisture readings, photo logs, and scope-of-work reports that adjusters require
A professional team should be on-site within hours of your call, not the next business day. For a detailed breakdown of what professional water restoration involves from arrival to completion, the process is more systematic than most homeowners expect.
What does burst pipe cleanup typically cost, and how does insurance work?
Cost depends on four variables: the category of water (clean supply line vs. gray or black water), the square footage affected, whether reconstruction is needed, and whether mold has developed. A contained supply-line leak caught within hours looks very different from one that ran for three days into a finished basement.
Ordered insurance action plan:
- Stop further damage first. Insurers can reduce or deny claims if you fail to mitigate.
- Document before cleanup. Photos, video, meter readings, time stamps.
- Contact your insurer to open a claim. Get a claim number before any major work begins.
- Confirm whether your policy requires prior authorization before hiring a mitigation crew. Most standard homeowner policies do not, but some do.
- Hire a licensed mitigation company. Keep every receipt.
- Track all adjuster communications in writing. Follow up phone calls with an email summary.
- Request a copy of the adjuster’s scope of loss report and compare it to the contractor’s estimate.
Common coverage pitfalls:
- Delayed reporting (waiting days to call the insurer after discovering damage)
- Failing to mitigate (letting damage worsen without taking reasonable steps)
- Undocumented repairs (paying a contractor in cash with no written scope)
- Gradual leak exclusions (many policies exclude damage from a leak that was “known or should have been known” for weeks)
Documents insurers typically request:
- Dated photos and video of all damage before cleanup
- Plumber’s written diagnosis and repair invoice
- Restoration contractor’s moisture logs and drying reports
- Receipts for emergency mitigation purchases
- Proof of ownership for damaged personal property
For Illinois homeowners, navigating insurance claims for water damage walks through the full claim process step by step.
Is it a burst pipe or something else?
Not every pressure drop or wet spot means a burst pipe. Knowing the difference saves you from unnecessary panic and unnecessary repair costs.
Pressure drop from a burst vs. other causes: A burst pipe causes a sudden, whole-house pressure drop that affects every fixture at once. A failing pressure regulator causes gradual loss across all fixtures over days or weeks. A single fixture with low pressure usually points to a clogged aerator or a partially closed valve, not a burst line.
Standing water near an appliance: Water under a refrigerator is usually a clogged defrost drain or a failed ice maker line, not a supply pipe. Water under a dishwasher typically points to a door gasket or drain hose. Neither requires shutting off the main supply, just the appliance’s individual valve.
Musty smell without visible moisture: This can indicate a slow leak behind a wall, but it can also come from a dry P-trap in a rarely used drain. Pour a cup of water into floor drains and infrequently used sinks before assuming you have a hidden leak.
Ceiling stain without a bathroom above: If there’s no plumbing above a stained ceiling, the source is likely a roof leak or condensation from HVAC ductwork, not a pipe. The ring pattern still applies, but the investigation starts at the roof, not the supply lines.
Run the meter test first. If the meter is still, you don’t have an active supply-line leak, and you can investigate the other possibilities methodically.
Water color and quality changes as a pipe damage signal
Discolored water is one of the most overlooked items on any pipe leak detection checklist, and it carries real diagnostic value.
- Rusty or reddish-brown water from hot and cold taps points to corroding galvanized steel pipes or a deteriorating water heater tank. Either way, the pipe wall is compromised and failure is a matter of time.
- Cloudy or milky water that clears from the bottom up is usually dissolved air and is harmless. Cloudiness that doesn’t clear, or that appears suddenly after a pressure event, can indicate a pipe crack introducing air or contaminants into the line.
- Gritty or sandy water suggests sediment from a deteriorating pipe interior or a disturbed water main.
- Blue-green tinting on fixtures or in water points to copper corrosion, which means the pipe walls are actively degrading.
Any sudden change in water color or taste warrants stopping use of that water for drinking and cooking until you’ve identified the source. The EPA’s guidance on mold and moisture is a useful reference for understanding how water quality issues connect to broader indoor air and health concerns.
How to communicate with your insurance company after a burst pipe
The documentation you create in the first 24 hours determines how smoothly your claim moves. Adjusters work from evidence, and gaps in that evidence become gaps in your settlement.
Before you call the insurer:
- Complete your photo and video documentation of all damage, including close-ups of the pipe or fitting that failed, all affected surfaces, and any damaged personal property.
- Write down the exact time you discovered the damage and the sequence of events.
- Note your water meter reading at the time of discovery and after shutoff.
When you call:
- Ask for a claim number immediately and write it down.
- Ask specifically whether your policy requires prior authorization before mitigation work begins.
- Ask for the adjuster’s direct contact information and expected timeline for the initial inspection.
- Confirm whether your policy covers additional living expenses if the home becomes uninhabitable.
During the claim process:
- Never authorize permanent repairs before the adjuster has inspected the damage. Temporary repairs (stopping active leaks, covering openings) are expected and covered; permanent reconstruction before inspection can complicate your claim.
- Get every contractor estimate in writing with a detailed line-item scope.
- Keep a running log of every call, email, and visit related to the claim, including dates and the name of the person you spoke with.
- If the adjuster’s scope of loss seems to undercount the damage, you have the right to request a re-inspection or hire a public adjuster.
Restoration companies that work directly with insurers, as Zerowaterrestoration does, can provide the moisture logs, drying reports, and scope documentation that adjusters require, which removes a significant burden from the homeowner during an already stressful situation. For localized guidance, water damage insurance claim steps for Illinois homeowners covers the process in detail.
Key Takeaways
The fastest way to confirm a burst pipe is the water meter test: shut off every fixture, watch the low-flow indicator for two minutes, and any movement means you have an active leak that needs immediate action.
| Point | Details |
|---|---|
| Meter test first | Run the water meter test before inspecting walls — it confirms an active leak in under 10 minutes. |
| Hidden signs precede visible damage | Bill spikes, sounds in walls, and warm floor patches often appear weeks before stains or puddles show up. |
| Document before you clean | Photograph all damage with timestamps before touching anything — insurers require this evidence. |
| Shut main, avoid electricity | Turn off the main supply and flip breakers to wet zones before entering standing water. |
| Zerowaterrestoration | Available 24/7 for emergency extraction, drying, mold prevention, and insurance coordination throughout the northwest Chicago suburbs. |
What restoration pros see that most homeowners miss
The homeowners who end up with the smallest repair bills share one habit: they ran the meter test the moment something felt off, before they convinced themselves it was probably nothing. Silent toilet leaks and slow supply-line seeps rarely announce themselves. A water bill that crept up $30 over two months, a faint musty smell in a finished basement, a floor that feels slightly soft near the laundry room. These are the calls that come in early, and they’re the ones where the damage is still contained.
The calls that come in late look different. By the time a homeowner sees a stain ring on the ceiling or finds buckled hardwood, the moisture has usually been moving through the structure for days. The repair scope is larger, the mold risk is real, and the insurance documentation is harder to reconstruct after the fact.
One thing that consistently catches homeowners off guard: the insurance process moves on the insurer’s timeline, not yours. The documentation you create in the first hour, before you mop anything up or call a contractor, is what the adjuster will base the claim on. A phone full of timestamped photos taken before cleanup is worth more than any receipt.
Zerowaterrestoration responds 24/7 when a burst pipe can’t wait
When water is actively moving through your home, the clock is running. Zerowaterrestoration is available around the clock for emergency response throughout the northwest Chicago suburbs, including Schaumburg, Arlington Heights, Palatine, Hoffman Estates, Barrington, and surrounding communities.
The team handles the full scope from arrival to completion: emergency water extraction, industrial drying and dehumidification, moisture mapping, mold remediation, reconstruction, and direct coordination with your insurance adjuster. You don’t manage the paperwork while managing the damage. Zerowaterrestoration handles the documentation, communicates with the adjuster, and keeps your out-of-pocket costs as low as the policy allows.
If you’ve run the meter test and it’s moving, or you’ve found standing water with no obvious source, call (847) 515-7000 now or visit the water damage restoration Illinois page to request an immediate response. For homeowners in Barrington specifically, the Barrington emergency restoration page has local service details.
Useful resources for homeowners
- Smart-home water leak detection — THIG Learning Center: Explains how hidden leaks develop and why early detection tools matter before visible damage appears.
- EPA: A Brief Guide to Mold, Moisture, and Your Home: Primary source for understanding how moisture leads to mold and what health and structural risks follow.
- Water Leak Detection: 9 Ways to Find a Hidden Leak: Practical DIY detection methods including billing analysis and appliance isolation.
- How restoration pros assess water damage for safe recovery: Covers professional moisture mapping, safety assessment, and what to expect when a restoration team arrives.
- Navigating insurance claims for water damage: Step-by-step claim guidance for homeowners, including documentation requirements and adjuster communication.
- What is mold remediation? A homeowner’s complete guide: Explains the remediation process and when professional treatment is required after water damage.